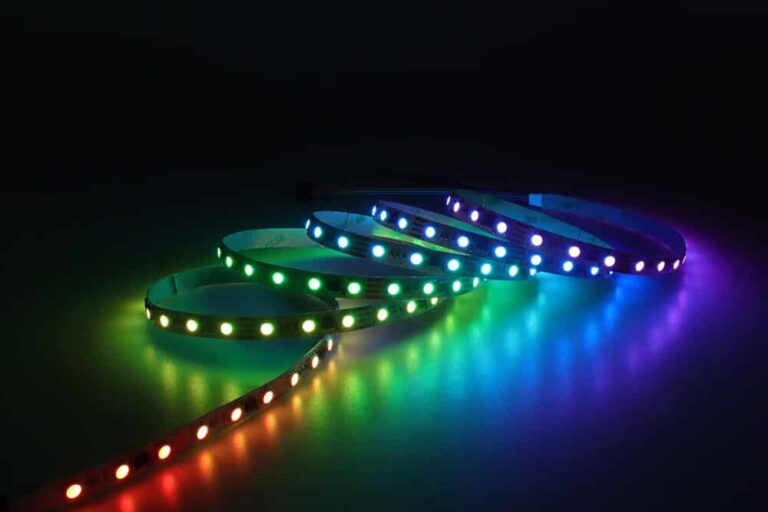
Just a few years ago, LED technology was a mystery to most, considered an underrated tech during a time of limited technological advancement. But lately, LEDs have captured a significant share of the lighting market, with many models available everywhere.
Yet, like all technologies, LED strip lights come with their challenges. Below, I’ll discuss common problems and solutions. So, let’s read the whole article and fix the LED issue easily in future–
Flashing LEDs
If your LED strip lights flash consistently, they’re likely drawing power too quickly. For instance, a 10m strip consuming 5W per meter requires 50W. If powered by a 30W source, it’ll trigger “overload protection,” cycling on and off. Solutions include:
- Purchasing a more substantial power supply.
- Distributing the strips between two existing power sources.
- Using fewer strips on the current collection.
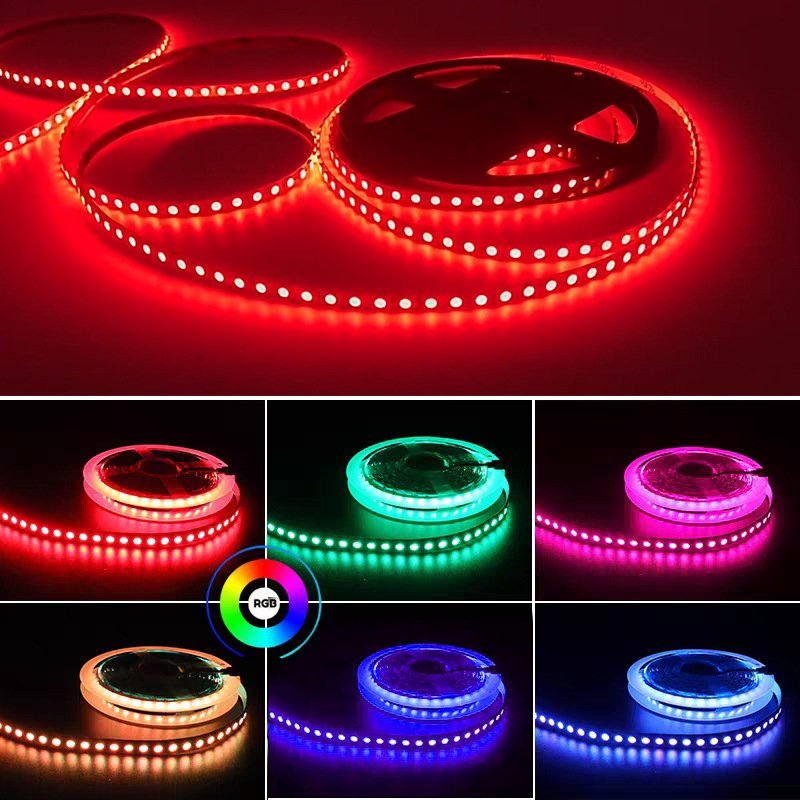
Mismatched Colors On RGB/RGBW LEDs
If segments of your LED strip display incorrect colors, particularly around cut areas, it suggests damaged Red LEDs. You can validate this by setting the strip to Red; the affected area will remain unlit. Causes for this can be bending, static electricity, poor-quality strips, or dry solder joints.
Most LED strips are designed in segments. Damaging an LED or resistor will only affect that specific segment. Often, the best solution is to replace the malfunctioning part. Before proceeding, try pressing the problematic LEDs or resistors; if they light up, a dry solder joint might be the culprit.
Inconsistent Colors across RGBW and RGB LEDs
If one color, say Red, doesn’t illuminate across the strip, the issue likely lies with the soldering or connections, not the LEDs themselves. An individual LED fault would only affect its segment.
To troubleshoot:
- Ensure all cables, especially extension ones, are functioning.
- Connect the power supply directly to the strip, bypassing all controllers and extensions.
- On RGB/RGBW strips, black is always positive (+). First, link the positive wire of the power source to the strip’s black wire. Then, connect the negative (-) to the non-functioning colour’s wire.
For instance, if blue is the issue, lighting the blue lights directly will confirm the problem lies elsewhere. Gradually reintroduce components to identify the faulty connection.
LEDs Overheating To the Touch
Two potential issues could cause this. First, your 12V LED strips might be linked to a 24V power supply. Alternatively, the strip might have a “short” where solder connects the positive and negative sections. Overpowering the strips with 24 volts can cause extreme heat and risk of fire. LEDs might fail rapidly under these conditions. If a short is suspected, examine the ribbon and ensure no solder bridges any connections. If required, either scrape off the excess solder or redo the soldering.
LED Strips Causing Breaker Trips
Two primary reasons exist for this. A power supply is malfunctioning, or the breaker can’t handle the current influx. To identify a faulty power supply, disconnect each and reconnect them individually until the breaker trips. If the breaker continues to trip despite the power sources being functional, the breaker might require an upgrade or the distribution of the power sources across multiple breakers.
Dimming LEDs Toward the End
This issue arises due to a voltage drop along the strip. Most standard LED strips remain bright up to 5 meters. The brightness can wane towards the end if you join two 5 m strips. Solutions include connecting the strips in parallel or setting up a ring main for more extended configurations.
Burning Smell from Coiled LEDs
LED strips, when active and coiled, can overheat and risk burnout. Always ensure they are uncoiled during testing or use.
LED Color Inconsistencies
If each part of the lamp belt shows a different color temperature, it may be due to paint on the LED.
Gently cleaning the paint without water or scraping with a knife (LED off) can help solve this problem.
LEDs Not Lighting Up
A non-functional power supply could be the culprit. Test with an alternate power source to verify and replace if necessary.
RGB/W LEDs Emitting Dim Red Glow
This occurs when 24V LED strips are connected to a 12V source. You’d need to acquire a matching 24V power source.
Incorrect RGB/RGBW Strip Colors
Crossed controller wires could be causing this. Ensure each cable is connected to its correct terminal. Additionally, check any extended cable connections for potential touching or crossover.
Weak LED Strip Adhesive
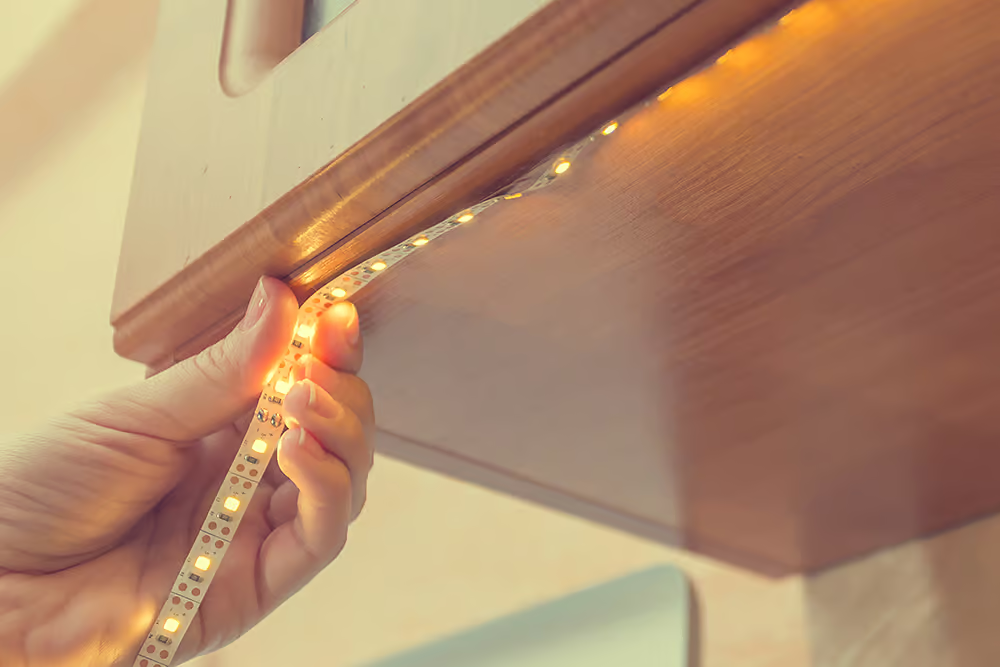
LED strips should adhere well when properly installed. Remove the adhesive backing only when ready to position the strip to ensure longevity. The intended surface should be clean and dust-free. If adhesion weakens, using screws placed between LEDs can offer support without causing damage.
LED Strip Sections Not Illuminating
If certain sections of your LED strip—specifically 3 LEDs (or 6 for a 24V strip)—aren’t lighting up, you might be dealing with an “open circuit.” It could be due to an LED defect, or perhaps it got dislodged because of manufacturing or during shipping or setup. This disrupts power flow, leaving that segment dark.
Are you skilled in soldering? Gently reheat the solder on each LED and surrounding components in that faulty section. Otherwise, consult your supplier about a replacement (if under warranty). Alternatively, you could cut out the defunct segment at the cut lines and reattach the remaining parts with connector clips.
LED Strip Displays Incorrect Color
You’ve set up your LED strip, yet the colour seems off. Why the shift? The perceived colour stems from the photon brightness, determined by several factors. Every LED strip maker might use varying raw materials. RGB (Red, Green, Blue) strips combine colours to achieve various hues. If a colour is off, one primary colour may not illuminate due to a malfunctioning resistor.
A tech-savvy solution: Inspect the LEDs for the unlit primary colours. Discover a faulty resistor? Repair it yourself or seek professional help. If that’s not the issue, examine the four controlling wires. A mix-up during manufacturing might’ve occurred, but you can correct it by rearranging the cables.
LED Strip Refuses To Power On
Did you disconnect your LED strip while it was still on, and it wouldn’t reactivate? Before discarding, validate if the power source is the culprit. Power source failures are common. Not sure? An electronics repair shop can swiftly verify. If battery-operated, replace them. This holds for the remote, too. Always ensure wires connect properly, as connectivity issues can cause the lights to misfire.
LED Strip Doesn’t Turn Off Completely
You’ve turned off the switch, but the LED strip remains dimly lit. They are perhaps using the remote leaves, one colour shining. LED power circuits are intricate but shift rapidly, while LEDs require consistent current. The electronic switch mechanism is pivotal. Address this by integrating LED-compatible switches, such as Z-wave.
Possible induced voltage might be a factor. Relocate your light strip for testing. Interference might dim the light. Typically, a switch replacement rectifies this. If the issue persists, customer support should be your next call.
Single-Colour LED Emission
The LED strip emits only red, green, or blue. But now, only the green diode functions. Though odd, it’s due to the parallel LED configuration. A malfunction in one LED doesn’t disrupt the others.
Quick Diagnostic Steps:
- Test each colour using the RGB controller.
- If functioning, reset the strip.
- Inspect the breadboard for damage. Twisting or bending may have damaged the resistors.
Overheating may end a diode’s lifecycle, or it may simply fail. Due to their minuscule size, fixing individual LEDs isn’t practical.
Remote Control Issues
After setting up at home, the strip may not work elsewhere. The remote becomes unresponsive, and the colours remain static.
Potential Solutions:
- Adjust the sensor’s position.
- Replace batteries or reset the remote.
- Ensure a good connection between the receiver, power source, and strip. If issues persist, consider a quality remote compatible with your ribbon.
Connector Troubles
Specific connectors, like the LS-12 or LS-13, serve particular functions. Connection LED strip light problems usually arise at the first connection point. When attaching the LED strip, ensure the polarity matches the connector. A secure click indicates a proper fit.
LED Color Stagnation
The strip may display only one colour at times despite various troubleshooting LED strip lights. Don’t press the LEDs directly. The issue likely stems from the controller’s settings.
Resetting the LED Strip:
- Connect all components.
- Plug and unplug the power adapter in intervals of five seconds. Repeat until the factory setting is restored.
Inconsistent End-of-Strip Color
If the LED strip’s end is dim or discoloured, it may result in power absorption. Swap with a different strip to diagnose. Bending the strip improperly or insufficient power could be culprits.
Solutions:
- Avoid bending the strip excessively.
- Use multiple LED drivers to address voltage drops.
- Check for wire entanglements or overlaps.
I hope this revision maintains the necessary information and makes the text more precise and concise.
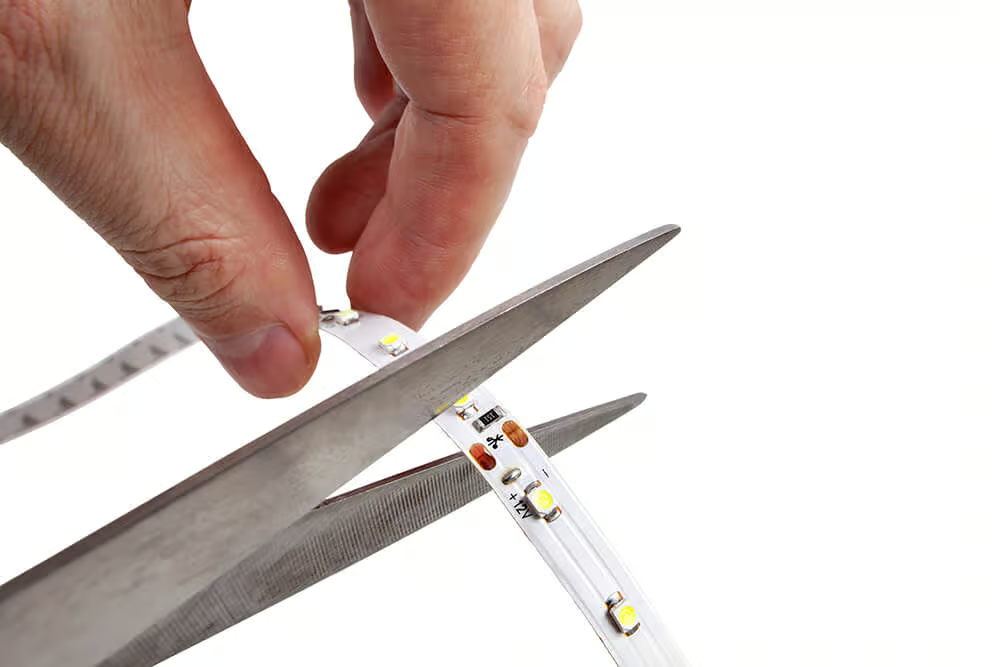
Guidelines For Trimming LED Strip Lights
Sometimes, you must trim your LED light strip, but locating the designated mark can be challenging. Despite this, LED strips maintain their functionality even after cutting.
For the task, ensure you have the following:
- Sharp scissors
- A measuring tape or ruler
- A soldering tool
Typically, the intervals between cutting marks on many LED strips are around two inches (5 cm). Unroll the strip if the cutting indication seems missing; there might be a printing error. Once an error is spotted in the cut, it’s irreversible. It’s essential to locate a single cut mark. Use your ruler to measure and mark subsequent points. Ideally, maximize the length of the strip. It’s advisable to leave the initial segment for a trial cut.
Precision is vital when making these cuts. For optimal accuracy, consider having someone assist by holding the strip steady. Once trimmed, remember to solder the ends. After a quick test run, position your LED strips as desired.
LED Strip Activation Upon Touch
Some LED strips light up only when touched. If you notice this behavior, it’s often due to interference from devices like WIFI routers, photovoltaic inverters, or inferior power supplies — a phenomenon known as “capacitive coupling.” To address this, first, identify and eliminate the source of the disturbance. Additionally, consider using an EMC-certified power supply over a regular noise suppressor filter for enhanced results.
Buzzing Noise from LED Strips
After setting up your LED strips, you might hear a buzzing noise from their power supplies. This could be due to manufacturing defects or the power adapter’s limited lifespan. Ensure your power adapter is placed on a non-resonant surface and is not overheating.
Additionally, identify the noise source if changing the LED colors causes a buzzing sound. Using a stiff glass case may help in muffling this noise. If the problem persists, consider returning the product.
Flickering Strip Lights
You might notice flickering when installing new RGB light strips, especially when captured on camera. This is often due to the AC power source. To fix this, LED strip lights troubleshooting, inspect the strips for damage or moisture, which may cause this LED strip to flicker if visible to the naked eye. For a quick solution, power your LED strips with a DC battery. For a permanent fix, opt for flicker-free LED strips.
Dimming LED Strips
Check the power source to see if your LED strip appears brighter in-store but dimmer at home. Ensure you’re using the correct voltage for your model. Misreading specifications can lead to dim lighting and overheating. Avoid adhesive substances like glue or acrylic cement on your LED strip, as they might damage the LEDs. Also, inspect the strip for any cracks or signs of excessive bending, which could affect solder connections and the LED’s brightness. Some damages might be irreparable, even with appropriate tools.
Dimming at One End of the Strip
With longer LED strips, dimness can be an issue. Even though shorter strips might work perfectly, resistance is a factor when it comes to longer ones. As the strip’s length increases, so does its resistance, leading to a voltage drop. If there’s insufficient power, the LED strip won’t illuminate completely. To solve this:
- Use shorter LED strips or reconnect every 20-30 feet (6-9 meters).
- Opt for thicker gauge wires to minimize voltage drops.
Fading Brightness Over Time
LED lights have a lifespan. Their brightness might reduce if they’ve been in use for a while. The longevity of an LED is often inversely proportional to its brightness. Technology and manufacturing methods for LEDs have evolved, affecting their performance. High voltage can reduce an LED’s lifespan. If you notice dimming:
- Test the voltage using a multimeter.
- Investigate potential causes before replacing the strip.
- Consider consulting a professional if there are electrical issues.
Part of the LED Strip Remains Dark
If only a portion of your strip is lighting up, it could be due to a faulty segment, or using metal supports might exacerbate the issue. To remedy this:
- Mark the non-working LEDs.
- Disconnect the power and carefully cut out the defective section.
- Replace it with a new strip of the same size.
- Ensure correct alignment using the provided markers (+ and – signs) and solder them together.
LEDs Don’t Flash, or Chase
Some LED strips might not perform as advertised despite being connected to power and WIFI. Most modern LED strips have dedicated control apps, which can sometimes be finicky. The issues typically arise from:
- Dimmers: If used, remove them. LED features like flashing LED light strips or chasing often aren’t compatible with dimmers.
- Software Issues: If not using a dimmer, try reconnecting to WIFI. Ensure the LEDs are paired with your control device and recheck all settings. If pairing doesn’t appear, you might need to restart the process or seek technical assistance.
Overheating Concerns with the LED Strip
When activated, the LED strip emits intense brightness. If you hover your hand above it, you’ll notice it’s warmer than usual. Ultimately, the strip becomes so hot that it’s impossible to touch. LEDs shouldn’t become excessively hot. This intense heat indicates that the diodes are overexerting due to excessive power.
In simpler terms, using too much power can shorten the lifespan of your LED strip. Without proper assessment, it’s challenging to identify the exact issue. A recommended approach to dissipate the heat is to employ a metal, preferably an aluminum profile, which will absorb and disperse the heat.
LED Lights Flickering
A prevalent issue is the LED strip lights flickering on and off. This could be attributed to the incompatible dimmer you’ve installed. Many LED strips don’t mesh well with inexpensive dimmers. The solution? Replace the dimmer. Ensure you consult the user guide for the appropriate dimmer type. If the problem persists, you might need to replace your strip.
The entire LED Strip Fails to Illuminate
- Confirm the voltage match between the LED strip and its power supply.
- Ensure proper connection of positive and negative terminals.
- If issues persist post-checks, the LED strip could be defective.
Specific Segment(s) of the LED Strip Aren’t Lighting
- Examine solder joint quality between the FPCB and either resistors or LEDs.
- The internal circuit of the LED light might be disrupted. If the inner gold wire is disconnected, it prevents the LED from lighting up.
In One Segment, Only One LED Doesn’t Work
- This could be due to a burnt-out chip (look for dark spots on the LED’s surface). Several reasons, including circuitry issues inside the PCB, could cause this.
Varying Light Colors Across Different LED Strips
- Manufacturers may have variations in colour temperature.
- Even with the same CCT, differing DUV values can cause variations in perceived colour.
Warm White LED Strip Appears Greenish
A high DUV value deviating from the black body curve might cause this, even if the colour temperature is within the 2700K–3000K range.
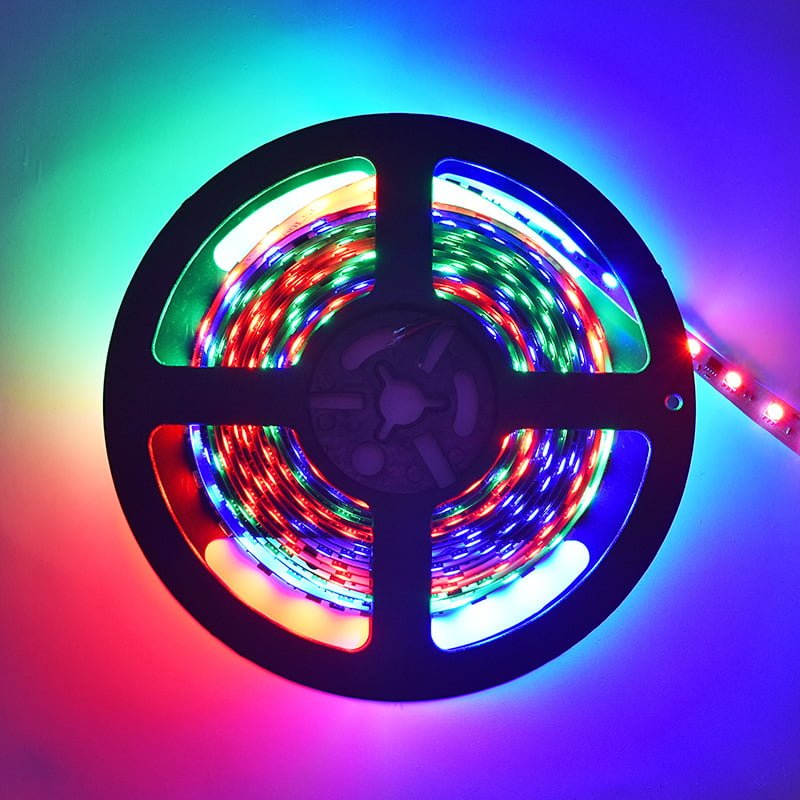
The end of the RGB Light Strip Appears as Red.
This is primarily due to voltage loss. The red chip in the RGB light bead consumes less power, so the end of the LED strip may seem redder.
- Blue LEDs: 3.0-3.2V Chip
- Green LEDs: 3.0-3.2V Chip
- Red LEDs: 2.0–2.2V Chip
LED Strip Coming Off
LED strips are versatile, fantastic for accent lighting, and easy setup. However, if not securely installed, they might come off, posing risks of damage or electrical hazards.
Specific Color on the RGB/RGBW LED Strip Doesn’t Work
This could be due to a malfunctioning circuit of that particular colour. The internal chip for that colour might have issues or soldering problems causing this discrepancy.
End of SPI Addressable LED Strip Doesn’t Illuminate
Ensure the SPI controller supports more pixels than the SPI LED strip and that the settings are appropriate.
LED Strip Doesn’t Dim
LED strips come in two variants: constant current and constant voltage. For continuous, recent LED strips, a PWM-signalling dimming power source is essential.
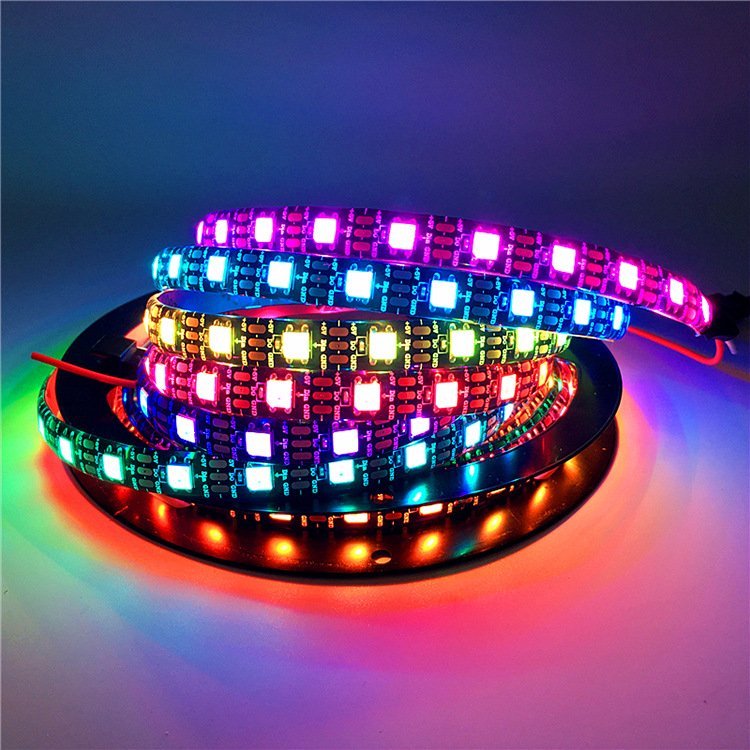
Common Causes of LED Strip Issues
LED strip lights are famous for their flexibility, ease of installation, and vibrant colours. However, like all electronics, they can sometimes run into issues. Here are common problems with LED strip lights:
- Power Supply Issues:
- Inadequate Power: If the power supply doesn’t provide enough power, the LED strip might not light up or show inconsistent brightness.
- Faulty Power Supply: Over time, power adapters can fail. A defective power supply might not deliver power at all, or it could provide inconsistent voltage.
- Connection Problems:
- Loose Connections: A poorly connected strip or connector can result in flickering LED light strips or sections of the strip not lighting up.
- Wrong Polarity: LEDs have a polarity, meaning they have a positive and negative side. Connecting them backwards can prevent them from lighting up.
- LED Strip Cuts and Bends:
- Incorrect Cutting: LED strips usually have marked areas where they can be cut. Cutting them in the wrong place can damage the strip.
- Sharp Bends: Bending the strips sharply can damage the internal circuits.
- Water and Moisture:
- If the LED strip is not rated for outdoor or wet use (e.g., not IP65 or IP68 rated), exposure to moisture can damage the strip and cause sections to malfunction.
- Overheating:
- Continuous use, especially when enclosed or bundled, can cause overheating, reducing the lifespan of the LEDs and potentially causing colour shifts.
- Controller Issues:
- Problems with the controller or remote can lead to issues with changing colours and modes, or even turning the strip on/off.
- Poor Quality LED Strips:
- Cheaper, low-quality strips may have inconsistent brightness, colours or a shorter lifespan.
- Dimmer Compatibility:
- Not all LED strips work well with all dimmers. Using an incompatible dimmer can result in flickering or reduced performance.
- Failed LEDs:
- Individual LED nodes can fail over time or due to defects. This can cause dark patches along the strip.
- Excessive Length:
- There’s a maximum length for which an LED strip can run without a drop in voltage and consequent dimming of the strip. If an LED strip is too long and isn’t powered adequately, the end farthest from the power source can appear dimmer.
In Summary
Having gone through this piece, it’s evident that you now grasp the typical issues associated with LED strips. Should you have further inquiries or suggestions, please share them in the comments section. We appreciate your feedback.
Mylikeled is renowned for producing top-tier LED strips and LED neon flex. We subject all our offerings to rigorous testing in advanced labs to guarantee unparalleled quality. Moreover, we provide tailored choices for our LED strips and neon flex.
FAQs
Why is my LED strip light not turning on?
If your LED strip light is not turning on, check the power supply, wiring connections, and ensure the strip is properly connected and undamaged.
Why is my LED strip light flickering?
Flickering in LED strip lights is usually caused by an unstable power supply, loose connections, or an incompatible dimmer.
Why is one part of my LED strip light dim?
A dim section in your LED strip light may be due to voltage drop or a faulty segment. Check wiring and power distribution.
Why are the colors on my RGB LED strip light incorrect?
Incorrect colors in RGB LED strip lights usually mean the wires are connected to the wrong terminals. Double-check the color-coded wiring.
Why is my LED strip light getting too hot?
Overheating in LED strip lights can happen due to poor ventilation or using the wrong power supply. Use an aluminum channel to dissipate heat.
Can I fix a broken LED strip light?
Yes, you can repair a broken LED strip light by cutting out the damaged section and reconnecting with solder or clip-on connectors.
Why isn’t my LED strip light remote working?
If your LED strip light remote isn’t working, check the remote’s battery, ensure the receiver is connected, and try re-pairing the remote.

Hi, I’m Xylia Xiong, a sales professional with 14 years of experience in the LED strip light industry. I specialize in providing tailored solutions, leveraging my expertise in LED products and the latest industry trends. Known for effective communication and problem-solving, I’m dedicated to helping lighting manufacturers, importers, and distributors achieve their goals.
Let’s work together to create customized solutions that exceed expectations.