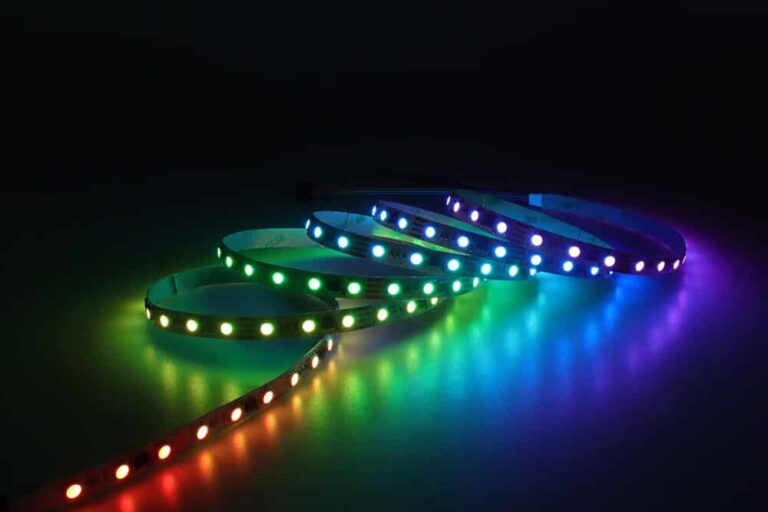
Want to use LED neon side bend strip light for your next project and wondering about the installation process? No worries, I am here to guide you through the whole installation. Also, I have mentioned some troubleshooting and maintenance tips for the neon side bend strip lights.
So let’s dive to learn about the proper installation guidelines of the neon strip lights here–
A Step-by-Step Guide To Install LED Neon Side Bend Strip Light

You can easily install the LED neon strips if you follow these few steps. For instance-
Step 01: Tools And Materials Needed
First thing, you have to gather all the necessary tools and materials before starting your installation. Hence, you will need screwdrivers, pliers, compatible LED drivers, and more. After collecting the tools, recheck to ensure that all items are included.
Step 02: Mock Installation
Before the actual installation, you can perform a mock installation to test the process. For this, you have to make a clear layout of the project and know what the end result will be. After that, decide where you want to attach the dimmer and driver.
Next, arrange all the necessary equipment in the installation area, then attach the neon lights to the power supply. It is helpful to perform before cutting the strips and the original installation. Finally, switch the lights on and check that everything is perfect.
Step 03: Turn Power Off At Circuit Breaker
To ensure safety, always turn off the power at the circuit breaker before handling electrical components. Also, you can confirm that the power is off by testing the circuit with a voltage tester before moving forward with any wiring or cutting tasks. This way, you can avoid possible injuries.

Step 04: Cut Strip Light To The Required Length
Now you have to cut the strip based on your required length. Take the strip and identify the correct cut points on your LED neon strip, usually marked by clear lines or arrows. Once you find the cutting lines and use industrial shears to cut the lights perfectly, otherwise, if you cut in the wrong spot, it can damage the strip and affect the functionality.
Step 05: Prepare LED Neon Strip Lights For Connectors
In this step, you have to insert the spacers provided with your connectors into the ends of the strip. These spacers protect the strip’s internal components and help maintain safe contact points, especially when bending the neon strip. And do that with proper preparation here, as this helps to prevent electrical shorts and extends the life of your installation.

Step 06: Attach Power Connectors To LED Strip Light
Slide the first half of the power connector into the prepared end of the neon strip. Also, ensure the connector blades fit snugly between the strip and its clear base. For certain types, such as RGB strips, soldering can be required. Remember to secure all connections tightly to avoid flickering or intermittent operation during use.
Step 07: Install Front Caps And End Caps
For proper connection, apply a small amount of silicon sealant to the front caps inside. This step helps create a moisture-resistant seal. Also, you can snap the cap into place, let the sealant cure as per instructions. And repeat the process for the end cap on the opposite side of the strip.

Step 08: Finish Attaching The Power Connectors
You have to complete the connection by screwing together second half of the neon strip power connector. Also, ensure a firm and reliable fit. Then double-check all wiring between the power supply, dimmers, and controllers. This way, you can make the system fully integrated and prepared for final testing before mounting.
Step 09: Retest The Setup
Finally, restore power at the circuit breaker and turn on the LED neon strip lights. After that, carefully inspect each section of the strip to ensure all illuminates evenly and functions as expected.
To learn everything about LED neon lights, read The Definitive Handbook on LED Neon Flex Lights.
Troubleshooting Of LED Neon Side Bend Strip Light
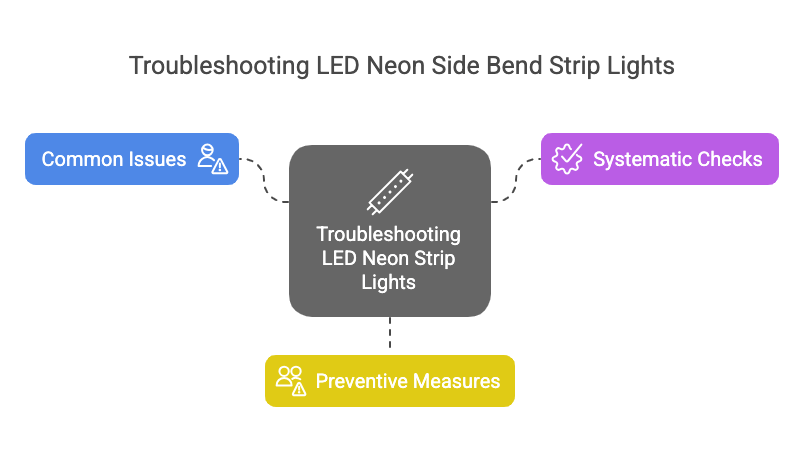
Here, I have included some common troubleshooting of the neon lights with solutions. Take a look–
Flickering or Inconsistent Lighting
Flickering issue of the LED neon side bed strip lights is often caused by inadequate and faulty power supply, loose connection.
Solution: To fix the flickering problem, you have to first check the power supply voltage that matches or does not match the strips’ requirements. At the same time, check all connections for looseness or corrosion. Plus, if you use a dimmer, ensure that it is designed for neon lights.

Uneven Brightness Across The Neon Strip
If some sections of your LED neon strip appear dimmer, this usually points to poor power distribution or voltage drop.
Solution: You can solve this issue by checking for physical damage, loose wiring, or poor solder joints. Additionally, using a voltage regulator or an external power supply can help maintain consistent brightness throughout the strip.
Color Inconsistency
The color inconsistency can happen due to manufacturing defects, poor soldering, or incorrect wiring.
Solution: To resolve this, verify that your controller settings are correct and that the wiring sequence matches the manufacturer’s instructions. However, if you choose a reputable brand to purchase neon strips and a controller, this issue can be avoided.
Segments Not Lighting Up
If any segment of the neon strip fails to light up, this can cause an open circuit due to a loose component or mechanical damage.
Solution: If you have soldering skills, reheating the solder joints on the affected section can restore function. Alternatively, you can cut out the faulty section and reconnect the remaining parts using connector clips.
Neon Strip Light Overheating
If you face any overheating issues with LED neon strips, that can happen due to poor ventilation or an oversized power supply.
Solution: So, check for any tightly coiled or enclosed placements. Also, try to mount the strips on the aluminum profile or a heat-dissipating surface to avoid this issue. You should be aware that overheating can reduce the lifespan of LEDs.
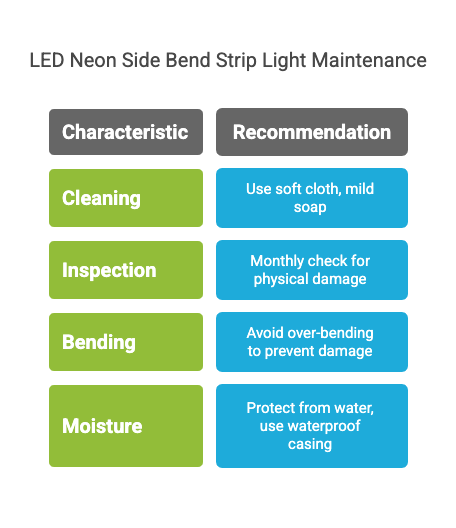
Maintenance Tips For LED Neon Side Bend Strip Light
- To maintain the LED neon side bend and increase their lifespan, you have to clean them on a regular basis. For this, you can use a soft, lint-free, or microfiber cloth to remove the dust. However, if the stubborn grime takes place, use a mild soap solution.
- Also, inspect the strips for any signs of physical damage, such as cracks, peeling, or discoloration, on a monthly basis. Address any issues immediately to prevent further deterioration and maintain optimal performance.
- Avoid over-bending the strip, even though side-bend strips are designed for flexibility. But excessive bending or folding can damage the internal circuitry and reduce lifespan. As many manufacturers recommend a minimum bending radius, check that before bending.
- Protect the strips from moisture unless they are rated as waterproof. For outdoor or humid installations, use waterproof versions or install them in waterproof casings to prevent water ingress and electrical issues.
Conclusion
So, installing the LED neon side bend strip is not that tough. If you follow some basic steps, you can do this using minimum equipment. Besides, with proper care and troubleshooting ideas, you can run the strip lights for many years.
However, if you want to choose the best strip and neon flex, contact Mylikeled. We have produced world-class lights with customization options. Our LEDs come in a wide range of types, allowing you to select the one that best suits your needs.
FAQs
What are LED neon side bend strip lights?
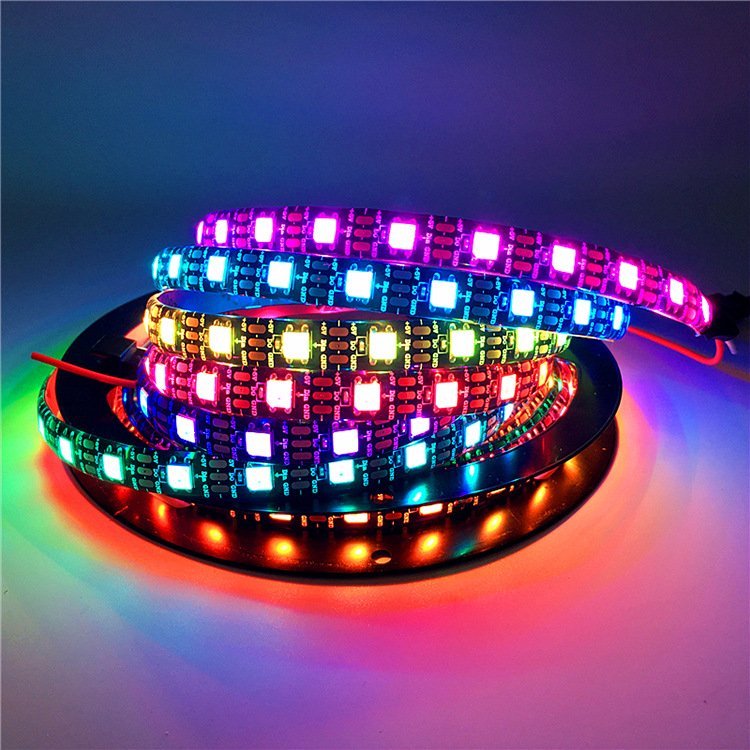
LED neon side bend strip lights are flexible lighting made from silicone or PVC. These lights are designed to mimic the look of traditional neon but with modern LED technology. Basically, they can be bent horizontally and used to follow curves. Hence, they are best for creative design and decorative purposes.
What is the lifespan of the LED neon side bend strip lights?
The lifespan of the LED neon side bend strip lights is between 30,000 and 50,000 hours. This means that if they are used for about 12 hours a day, they can last over 10 years. Hence, LED neon strips can run for years without minimal maintenance, saving you money and effort.
How do you know when it’s time to replace them?
You’ll notice it’s time to replace your LED neon side bend strip lights when you see significant dimming or persistent flickering. Also, their color shifts and dead sections along the strip can be a sign to change them. These indicate the LEDs are nearing the end of their rated lifespan and won’t provide the same quality of illumination.

Hi, I’m Xylia Xiong, a sales professional with 14 years of experience in the LED strip light industry. I specialize in providing tailored solutions, leveraging my expertise in LED products and the latest industry trends. Known for effective communication and problem-solving, I’m dedicated to helping lighting manufacturers, importers, and distributors achieve their goals.
Let’s work together to create customized solutions that exceed expectations.