At MyLikeLed, quality is our top priority. We ensure every LED strip light meets the highest standards through rigorous testing, premium materials, and advanced manufacturing processes. This commitment guarantees long-lasting performance, energy efficiency, and vibrant lighting for every project.
LED Strip Light Manufacturing Process
The following is how we at My LiKe Led create some of the highest-quality strip lights on the planet (and off-planet, currently in orbit). We do not claim to follow any other manufacturer’s methods, nor are we assuming they follow ours. We believe in educating the world about this amazing technology and hope you are all as uncompromising about quality as we are when it comes to your projects!
The following is My LiKe LEDs method (condensed, see next steps for details):
- Understand and order your components
- Quality Control Part 1
- Dry the LEDs
- Quality Control Part 2
- Create and use solder molds
- Apply lead-free tin solder paste onto the base PCB
- Quality Control Part 3
- Placement of components on solder pads
- Quality Control Part 4
- Bake the strip in a reflow oven to secure all components
- Quality Control Part 5
- Separate and join the 0.5m strip segments together
- Quality Control Part 6
- The tape is applied to the back of the PCB
- Soldering wire leads and connectors onto each strip
- Glue and heat shrink is applied to wire solder points
- Waterproofing and weatherproofing for IP64 to IP68-rated strip lights
- Age Testing
- Quality Control Part 7
- Rolled neatly onto a reel
- Quality Control Part 8
- Arrival in the warehouse – Internal testing – Quality Control Part 9
- Final step – Quality Control Part 10
Step 1: Understand Your LED Strip’s Components
Like many top-of-the-line products, it is best to start with the highest quality components. Take the time and effort to select the perfect components for the strip. They cost more than other components of less quality, but they are worth it.
Manufacturing can begin once the following components are acquired:
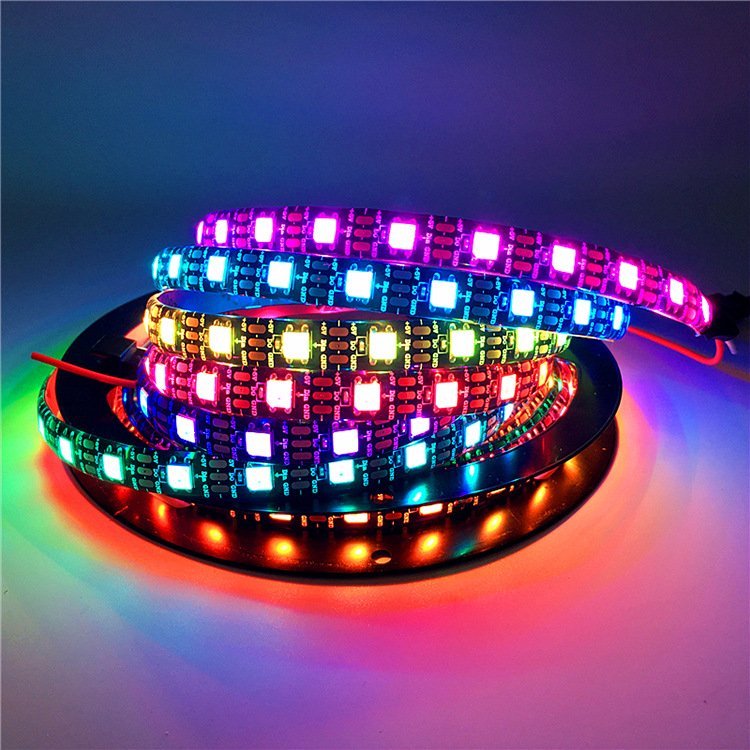
- Flexible Printed Circuit Board
3-4 oz double-layer pure copper flexible circuit boards provide the best conductivity and heat dissipation. Remember, heat shortens the lifespan of a LED, so it’s best to get rid of it!
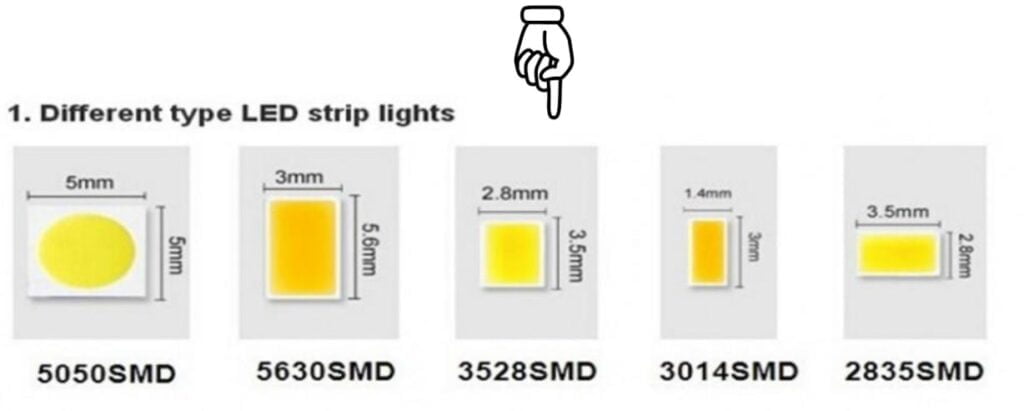
- SMD LEDs (The most important component!)
The size of the LED you use will dictate the brightness and power consumption of the strip. Don’t just compare “Led Size”. The longevity and performance of two 5050-sized LEDs from any two manufacturers will differ greatly. Ask for the data and certifications.
The chosen LEDs are packaged with the highest quality thermal pads, die bond materials, phosphors, and 99.99% gold bond wires. Choose LEDs that have undergone rigorous testing with LM-80 and TM-21 reporting.
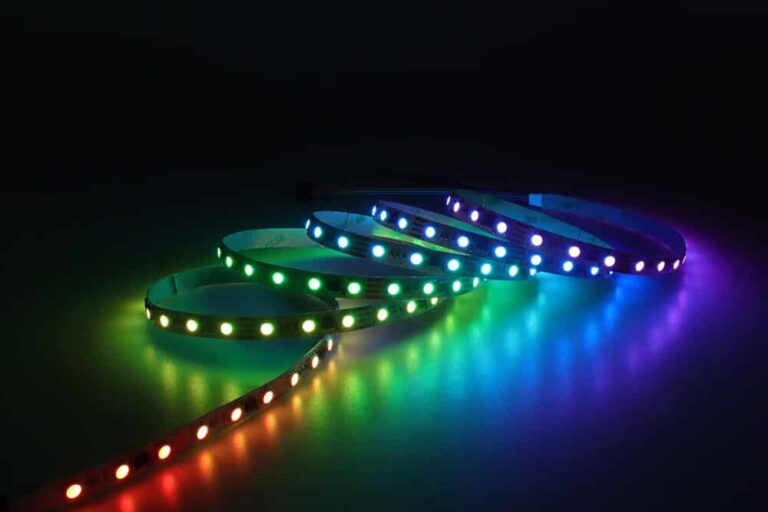
The most important factor of the strip light is its ability to create beautiful, perfectly rendered lighting. Make sure the strip has a high CRI, Gamut Index, Fidelity Index, and Saturation.
- Resistors
Resistors are selected to match the forward voltage of the LEDs. The value of the resistor may change from batch to batch. Use a reputable company for resistors.
High-quality resistors are equally important, as skimping on this component will lead to premature failure of your strip light.
Do not overpower your LEDs! They will appear brighter at first but will fail fast. We know a few of our competitors that do this. The excess heat may also be dangerous if installed on flammable materials.
- UL listed wires and connectors
Always select components that are tested for safety and durability. We have seen very good strips become unusable because the wire was cheap.
- 3M Thermally conductive tape with very high bond
We use 3M brand tape(different options). Many suppliers offer no-name or, worse, fake brand-name adhesives. The key to a long-lasting installation and thermal conductivity is great quality tape. What good is a strip light if it becomes unstuck after a couple of months?
Step 2: Quality Control Part 1
Once the components are received in the production warehouse, they are tested and checked to ensure they are accurate and pass through the rigorous quality checklist. This is an obvious but extremely important step.
Step 3: Dry the LEDs

Before assembling the LED strip lights, it’s essential to dry the LEDs to remove any moisture. Moisture can damage the LEDs and cause them to malfunction. To dry the LEDs, place them in a dry box or use a hot air gun to heat them gently.
Once we have the materials, we can begin our manufacturing journey in the LED drying room. The phosphor on the LED is still wet, so we place them into ovens at 70℃ (158 F) for 12 hours to dry them out.
Step 4: Quality Control Part 2
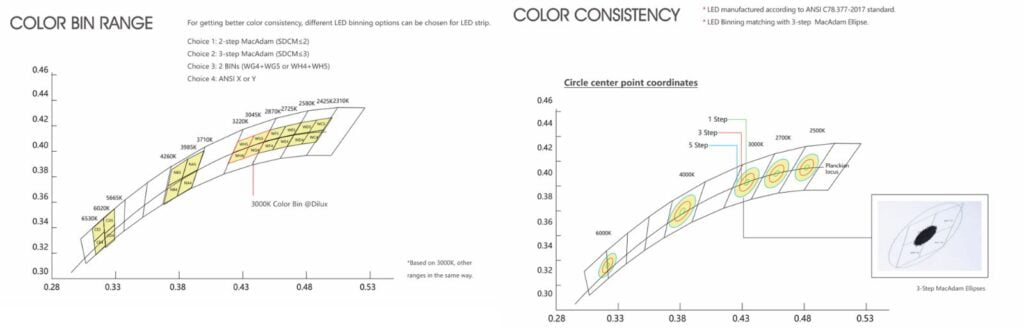
When they are dry, test the LEDs again to make sure the photometric data and bin are on spec with what is to be produced. Light data consists of correlated color temperature (CCT) and color rendering (CRI). When passed through this stage, they are labeled, rolled up, and ready to be placed onto the PCB.
Step 5: Create and Use Solder Molds
Aluminum molds are created for each strip light design. They are cutouts (stencils, jigs, etc.) that go on top of the bare PCB in order for the solder paste to be perfectly spread over it.
Step 6: Apply Lead-free Solder Paste Onto the Base PCB
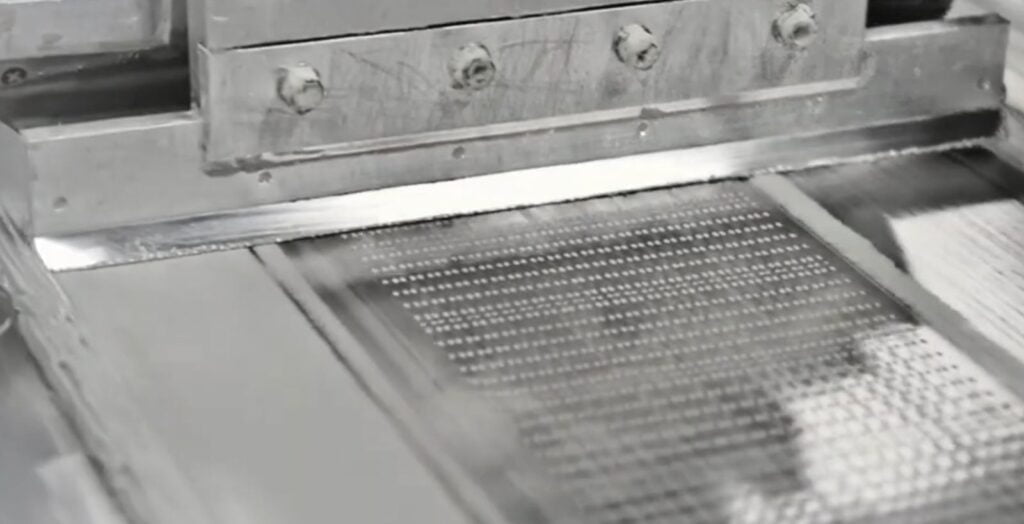
Twenty-four loosely attached strips of bare PCB, 0.5 meters in length, make up the ‘PCB sheet’. It is placed under the mold and a lead-free solder paste perfectly fills the holes in the mold, creating flawless solder pads.
Step 7: Quality Control Part 3
Another QC step makes sure that each solder point has just the right amount of solder paste and is prepared for the components to be placed on the solder points.
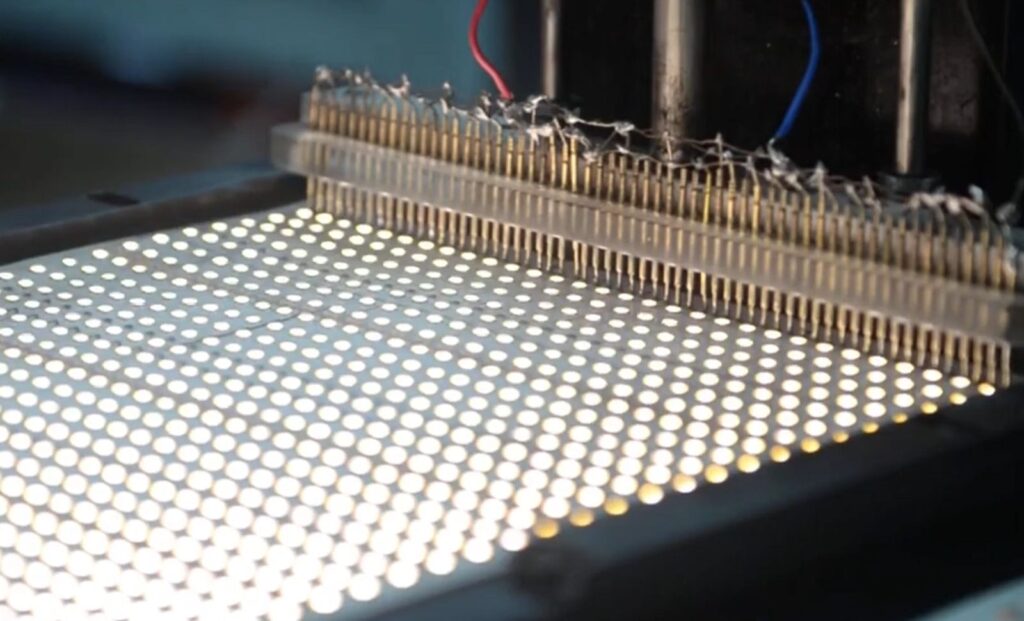
Step 8: Placement of Components on Solder Pads
Next, the PBC sheet is placed into an SMT placement machine, also known as a pick-and-place machine (PnP). This machine picks up and places the resistors and LEDs on the solder points with perfect accuracy and pressure. This machine is capable of 80,000 component placements per hour.
Much faster than any hand in the west (or east)!
Step 9: Quality Control Part 4
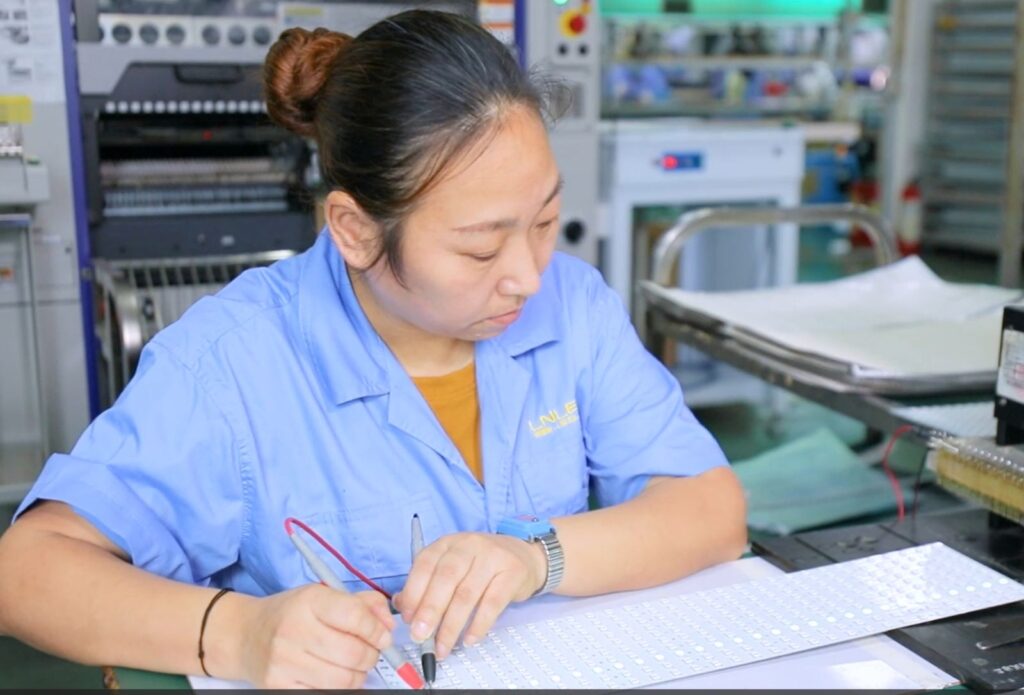
The PCB with all components attached is fed out of the machine to be inspected again by quality control. If there is a misplaced part, it is noted, and the sheet gets reworked until it passes inspection.
Step 10: ‘Bake’ the Strip in a Reflow Oven to Secure All Components
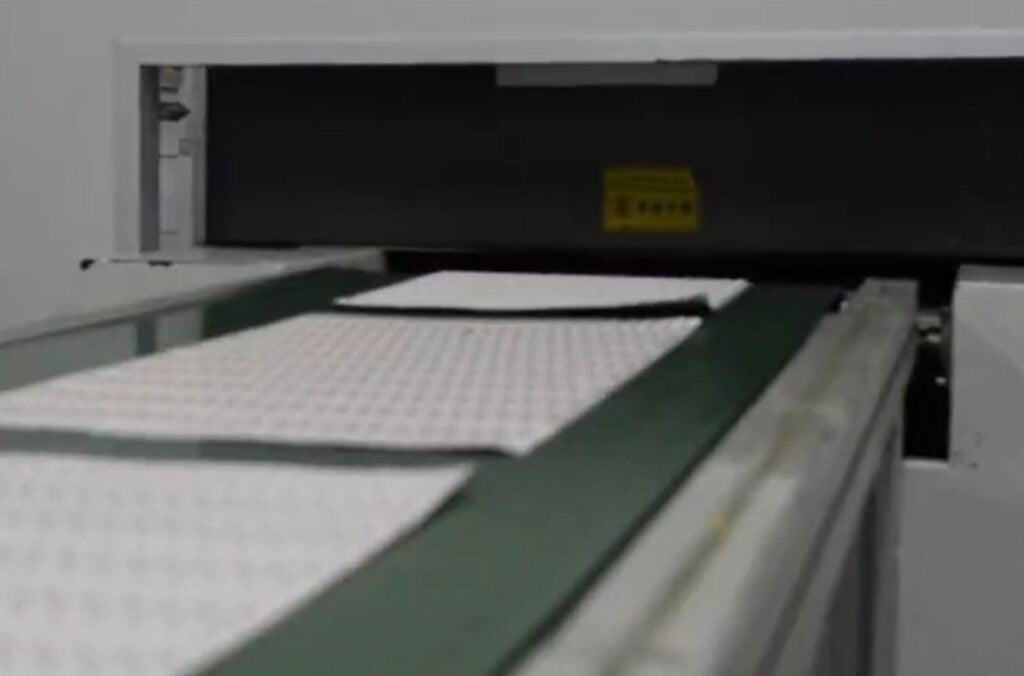
The components are not secured to the PCB until the solder paste has hardened. To do this, the PCB sheets are belt-fed into the reflow oven. The reflow machine is a long oven that has multiple zones where the temperature can be independently controlled as the PCBs pass through. We heard once it is possible to cook pizza in them but we are yet to verify.
Step 11: Quality Control Part 5
When the PCB exits the oven, the solder paste has hardened and we are only a few steps away from calling them LED strip lights. Another round of quality control is important to make sure all of the LEDs light up with equal intensity. Sheets that are rejected are reworked or manually soldered until perfect.
Step 12: Separate and Join the 0.5m Strip Segments Together
Once passed through quality control, the 0.5m PCB sheets (made up of the 24 loosely attached strips) are separated and soldered end-to-end until they achieve the specified length. At this point, I believe it is safe to call the product a LED strip light finally.
Step 13: Quality Control Part 6
Once the segments are soldered together, QC tests all connection points to make sure the entire strip illuminates properly and the temperature of the strip is stable.
Step 14: Tape Is Applied to the Back of the PCB
Most LED strip lighting brands sell their lights with adhesive tape on the back for mounting. 3M brand tape then adheres to the back of the strip. It is very important that a high-quality tape is used that will not only make sure the bond is strong but will also be thermally conductive, keeping the heat low to add to the strip’s lifespan. When you are looking at suppliers elsewhere, ask which tape they are using on the back of the PCB. Some say “upgraded blue tape” or “high bond tape,” when in reality, those terms mean nothing to help you identify the quality, durability, and longevity of the tape.
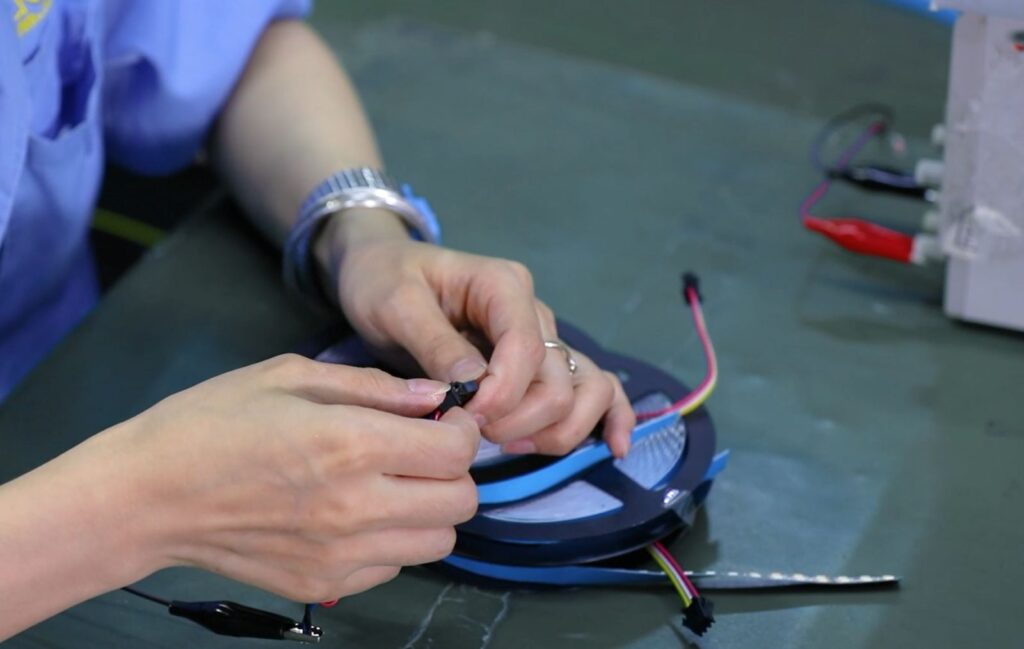
Step 15: Soldering Wire Leads and Connectors Onto Each Strip
We’re not done yet! The lengths and connection types may vary, but each strip typically comes with pre-soldered wire leads.
Step 16: Glue and Heat Shrink Is Applied to Wire Solder Points
Next, a few dabs of glue are placed over the connections and a heat shrink is attached to secure the connection.
Step 17: Waterproofing and Weatherproofing for IP65 to IP68 Rated Strip Lights
OPTIONAL STEP: If the strip requires special waterproofing or a weatherproofing sleeve, they are moved to that area of the production line for completion before being tested once again (Quality Control Part 6.2)
Step 18: QC Age Testing
When the strip has been completely assembled, it is moved into an aging room, where the strip is fully powered on and left for 8-12 hours. New strip designs are also placed in separate ovens to test for heat and humidity tolerance.
Step 19: Quality Control Part 7
The strips are again tested for quality after the aging room before moving to the next step.
Step 20: Rolled Neatly Onto a Reel
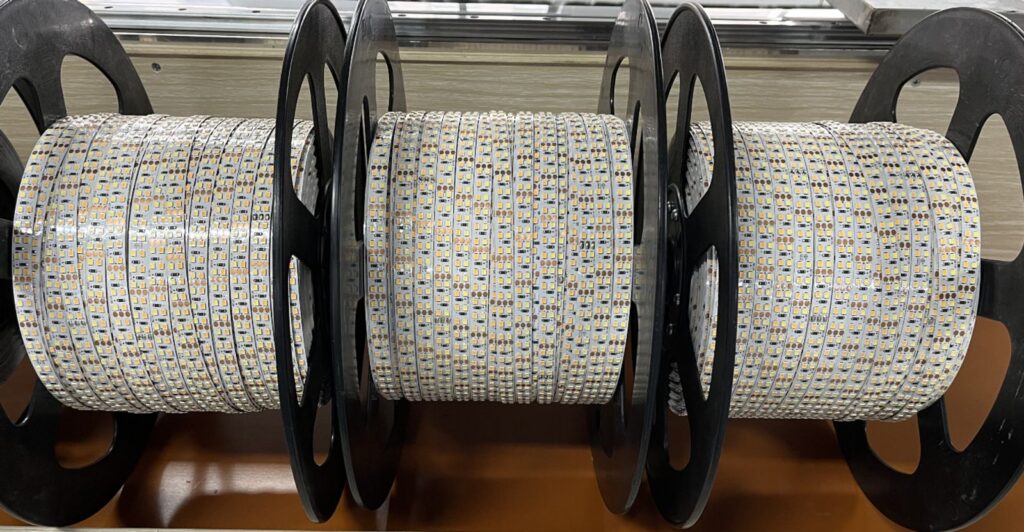
The strip is then wound up on a plastic/paper reel. This keeps the strip from damage and makes it very easy to transport and use in the field.
Note: Always remove the LED strip from the reel before use. Lighting the strip while it is in the reel will cause heat buildup that may damage the LEDs or reduce their lifespan.
Step 21: Quality Control Part 8
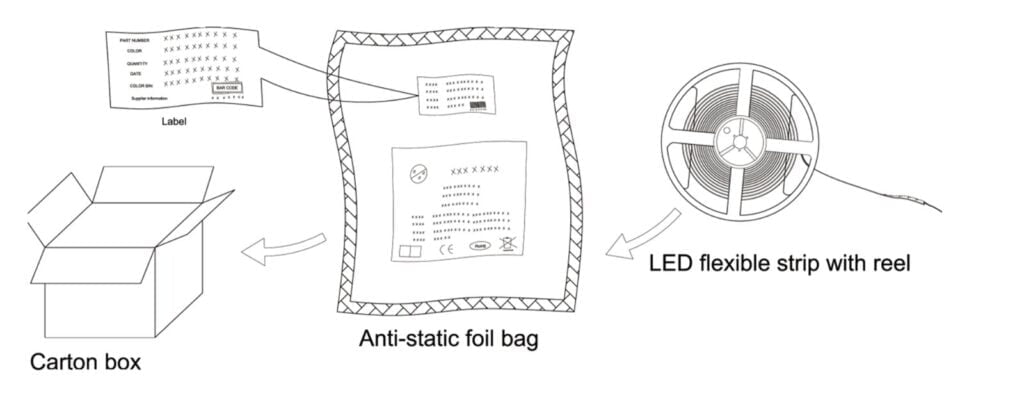
The strip is tested one last time before it is placed into an antistatic bag, sealed, boxed, and shipped to our distribution centers.
Step 22: Arrival in Warehouse – Internal Testing – Quality Control Part 9
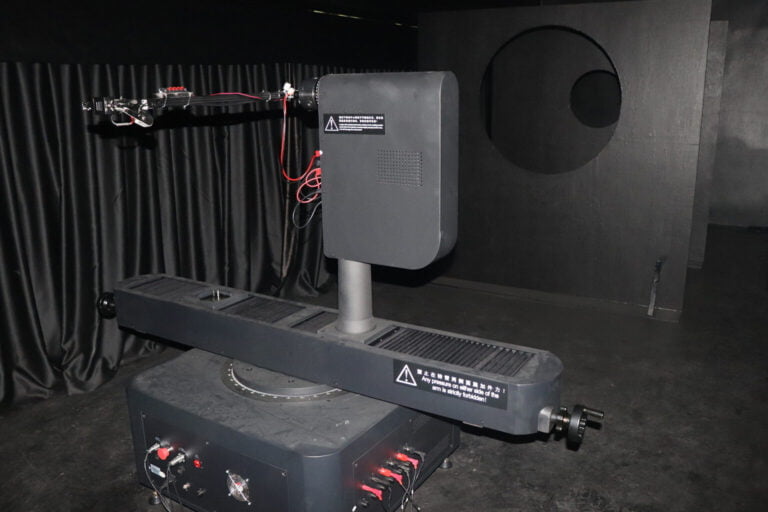
Once the strips arrive in our warehouse, we pass a large percentage through another QC process where we double-check all components. We test for rigidity, strength, and consistency of the solder, temperature performance, and adhesive durability.
We test in-house to ensure that the LED color temperature bins (3 macadams ellipse or under) color rendering index, gamut index, and fidelity Index are accurate to spec and consistent with the previous orders. These are the most important indicators of lighting quality.
Step 23: Final Step – Quality Control Part 10
We don’t stop once it has been installed. The final quality control strip occurs when we contact every customer to make sure the product is working as intended and fulfilling its beautiful purpose.
conclusion
In conclusion, MyLikeLed guarantees the quality of its LED strip lights through strict quality control, advanced technology, and a dedication to customer satisfaction. Whether for residential, commercial, or creative projects, our products are designed to deliver reliable performance, brilliant illumination, and lasting value. When you choose MyLikeLed, you’re choosing a trusted partner in lighting excellence. Contact us for the best LED strip ever!

Hi, I’m Xylia Xiong, a sales professional with 14 years of experience in the LED strip light industry. I specialize in providing tailored solutions, leveraging my expertise in LED products and the latest industry trends. Known for effective communication and problem-solving, I’m dedicated to helping lighting manufacturers, importers, and distributors achieve their goals.
Let’s work together to create customized solutions that exceed expectations.