While personalizing a rented apartment can be a challenging task due to the risk of causing irreversible damage to the fittings and fixtures, there is a solution that mitigates this hassle.
LED strip lights present an efficient resolution to this predicament. With the potential to thoroughly transform a space, they lend it a more homely ambiance. Equipped with a semi-permanent 3M adhesive base, these strips can be effortlessly removed when the tenants decide to move to a new place.
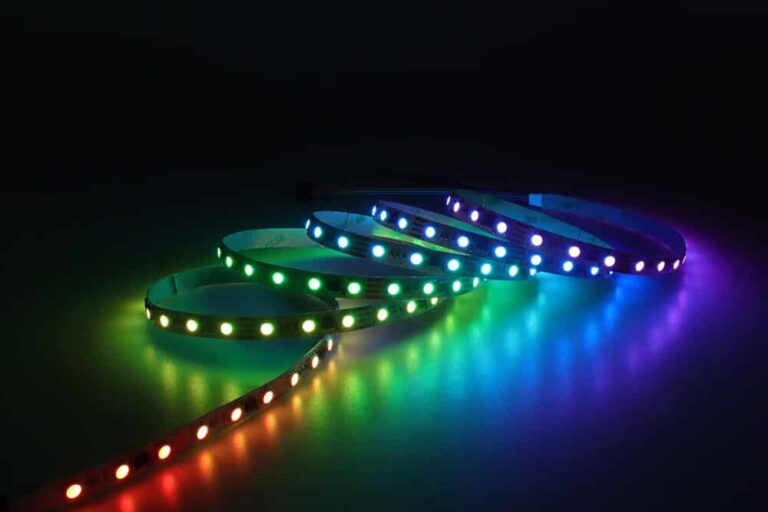
LED light strips are excellent for indoor and outdoor decorative lighting, significantly enhancing the aesthetic appeal of your room with their sleek design.
However, there may be occasions when you need to move your LED strips, for example, when you’re relocating or simply want to reposition the lights to a different wall. The challenge lies in disassembling and reusing the LED light strips without causing any damage to the walls.
Can LED Strips Harm My Walls?
The impact of LED strips on walls or wall paints stirs a debate. Some individuals believe they’re harmful, while others disagree. The adhesive used in LED strip lights can answer this question definitively.
In general, these strips do not adversely affect the wall’s condition. However, understanding certain factors related to the wall surface and the LED strips can help clarify this situation. The adhesive strength on the strips’ surface may peel off or damage the wall paint when affixed to it.
Furthermore, the wall’s durability and the quality of materials used during construction can significantly influence this outcome. Lower-quality materials may react adversely when adhesives are applied for affixing LED strips.
However, proper removal methods, like gently applying heat, can help mitigate potential damage when removing these strips. This method allows for the efficient removal of the LED strips without excessive force.
Which Surfaces Are Affected by LED Light Strips?

The ever-changing nature of interior design has meant that tastes and styles continue to evolve. You may have once desired a brightly colored room, but your preference could have evolved.
The same applies to your LED light strips. You’d unlikely want them to remain in the same spot indefinitely. However, the surface where they were originally attached can impact their relocation process.
Take, for instance, smooth surfaces like wood or tiles. In these cases, there should be no complications. The wall wouldn’t sustain any damage when the LED strips are removed. At worst, some adhesive residue may linger, requiring cleaning.
Conversely, surfaces like painted or wallpapered walls, or bare drywall, can present more of a challenge. These types of surfaces are layered and sensitive, making them susceptible to damage.
Wallpaper, in essence, is simply paper. When a strong adhesive like the one used for LED strips binds to paper, it forms a solid connection. As a result, removing the strips could prove difficult and could lead to tearing or peeling the wallpaper.
Paint, too, has its challenges. It tends to become increasingly fragile with age. As a result, removing LED strips could lead to peeling off of the old paint. Freshly painted surfaces can also pose problems.
Although a new coat of paint may feel dry to the touch within 24 hours, it often takes up to a month to fully cure. If LED strips are attached to a freshly painted surface, the paint might cure around them, creating a stronger bond with the LEDs than with the wall itself.
Simply put, high-quality LED light strips don’t inherently damage walls. However, several factors can influence this outcome, including:
- The resilience of the paint or wallpaper
- The potency of the adhesive
- The length of time the LED strip has been affixed to the wall
- The surrounding climate or environment
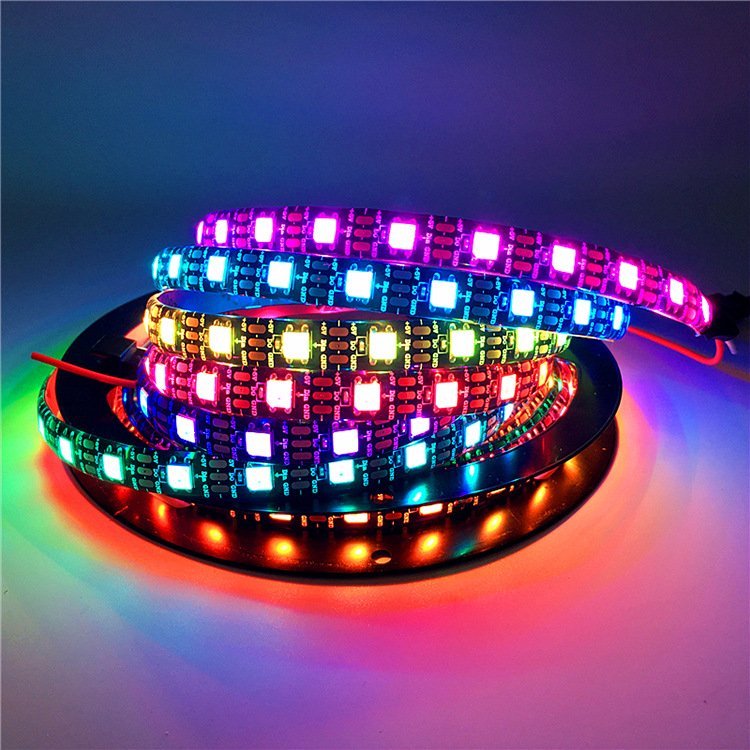
Details about LED Strip Material
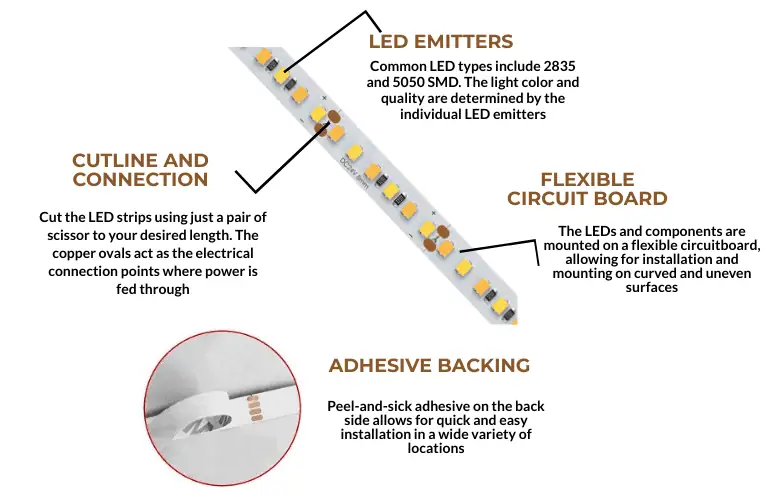
Resembling a tape, LED strips, also known as LED ribbon or LED tape, are assembled from several key components. The primary ingredients include FPCB/ALUMINUM PCB/FR-4/CME-3, silicon tube, 3M tape, PVC material, silicon glue, and lead chips.
The connectors for single-color LED strips are made up of 2-pin connectors, compatible with a minimum of 20-22 Gauge stranded wire. On the other hand, multicolor strips require 4-pin LED strip connectors. As a standard, an 18-gauge LED wire is typically used to connect 24V LED strips.
Wall Types That Are Compatible With LED Strips
LED strips are ideally suited to specific wall types and may not adhere well to others. Walls with tile, plastic, or a wooden finish provide a perfect environment for bonding LED strips.
One advantage of using LED strips on these wall types is the ease of removal. The strips can be quickly taken down without leaving stains or causing damage. If there’s any residual adhesive visible, it can be easily cleaned off.
Proper Installation Method for LED Strips on Walls
Before proceeding with installing LED strips, it’s important to gather the necessary tools. These include a measuring tape, a wet cloth, adhesive, and scissors. If the strips are installed on the ceiling, a ladder will be an essential piece of equipment.
1. Selecting the Right Surface
The wall’s texture must be considered before opting for LED strips to adorn a particular space. Installation of these decorative items on painted walls might not be the best option. Generally, a smooth surface is the most suitable for this purpose.
Once you’ve determined the surface, the next step is deciding on the installation site. Key locations for LED strip attachment might include the above kitchen cabinets, gaming rooms, television borders, etc.
For those thinking about adding LED strips to the ceiling, wireless light strips are recommended as they impart a neat and modern aesthetic; such strips are worth considering.
2. Measurement of Surface Before Installation
Having selected the site for the LED strip installation, it’s time to ascertain the exact dimensions of that specific area. Accurate measurements will help adjust the strip length accordingly.
3. Strip Adjustment
Knowing the room’s dimensions allows for precise determination of the required strip size, thereby potentially reducing expenses by only purchasing the necessary length of the strip.
Alternatively, strip extensions can also serve the purpose. It’s best to avoid positioning the strips at 90° angles, particularly around the TV, to achieve a more rounded aesthetic with the strip; flexible connectors are ideal.
Additionally, you can trim the strips based on the perimeter’s length. Each strip typically includes specific markings to guide cutting without damaging the light circuits. Always ensure the LED strip is unplugged before trimming it to prevent accidents.
4. Surface Cleaning
Once the strips have been cut to length, you can move on to the adhesion process. The surface should be wiped clean with a damp cloth before proceeding. This step is crucial for removing any traces of oil or dirt that might hinder the adhesion.
5. LED Strip Installation
When it comes to actually affixing the strip, care, and precision are paramount. Adhesive can damage the surface, so choosing the attachment site wisely is crucial. Many prefer using double-sided adhesive to circumvent potential damage.
Once the surface has been cleaned, the strip can be installed by peeling off the adhesive sticker from its back. It’s essential to press the strip firmly against the surface for 10-15 seconds. This press-and-hold method should be repeated every six inches of the LED strip.
The Correct Approach to Safely Detach LED Strips
Let’s dive into removing LED strips from wall surfaces, focusing on certain measures that ensure it’s safe and effective for all involved.
Disconnecting the LED
Before initiating the strip removal process, switching off or unplugging the LEDs is critical. It’s never wise to play around with electricity. Thus, turning off the power source at the task’s start is essential to avoid potential mishaps.
Warming up the adhesive
LED strips are typically affixed to walls using robust adhesives. Such adhesives can potentially strip off wall paint or surface material. Therefore, at the beginning, a hairdryer should be used to heat the adhesive layer. The intense heat will cause the adhesive on the strip to soften and be more easily removable.
However, prolonged heating can cause the strips’ luminosity to degrade. Thus, a few minutes of heat application should sufficiently warm the glue.
Beginning the peel from an edge
Avoid attempting to lift the strip from the middle. Instead, always start from one of the corners. When peeling, using a flat object at the base of the strip is more effective than a sharp-ended one.
Implementing a gentle motion
When peeling the strips, it’s crucial to employ a gentle, section-by-section motion. Additionally, patience is required until the entire LED strip detaches. Hastily removing the strip could harm the internal wires. Even though this gentle process is time-consuming, it’s necessary to prevent damage.
Air-drying the strips
Once you’ve detached the entire strip from the wall, it’s important to let it dry out. Any remaining adhesive should be thoroughly dried before the strip is reused or stored.
Managing the residual adhesive
If any adhesive still clings to the wall, gently rub it off with your thumb. The adhesive should come off with a bit of gentle pressure.
If this approach removes the sticky adhesive effectively, consider using a citrus-based cleaner or WD-40 on the surface. After applying one of these solutions, gently scrub the surface in a circular pattern until all the glue has been removed.
Guidelines For Ensuring Secure LED Strip Lights Installation
If your next project involves the addition of LED strip lights to your walls or furniture, here are several recommendations to guarantee a successful setup.
Surface Preparation
If you plan to place these strips over cabinets or in tight corners, it’s important first to clean off any dust with a dry cloth. After this, dampen a rag to wipe down the same surface, then dry it thoroughly. This practice removes all dust particles, enabling the LED strip to adhere well to the installation surface.
Using Sellotape To Reinforce Your Strip Is Encouraged
To enhance the longevity of your LED strip, consider backing it with sellotape or another form of clear self-adhesive tape. Once installation is complete, this extra tape layer will maintain the LED strip’s firm attachment to the surface for a prolonged period.
Adhesive Application May Be Necessary
Occasionally, LED strips sitting in shops for a while may result in their adhesive’s diminished sticking ability. While this does not affect the light output, the adhesive tends to have a limited shelf life. If you notice a reduction in adhesive strength, applying a layer from a local store to the LED strip might be beneficial before installation. This can help restore the lost sticking power of older LED strip lights.
Double-sided Tape Is A Useful Alternative
You can use double-sided tape to fasten your LED strip to the wall for long-term stability. Various double-sided tapes, such as rubberized or cloth versions, are available. These tapes have robust adhesive properties that can secure your strip for an extended period. However, if your wall putty is flaking, worn, or moisture-damaged, it’s advisable to avoid using double-sided tape.
Summary
LED strips offer a unique and illuminating enhancement to any attached surface. The market currently hosts many of these strips, earning them popularity. Users often express concerns about their removal process despite their aesthetically pleasing appearance.
This text has dissected the types of surfaces that might not be ideal for LED strip application. Additionally, it guides how to adeptly remove both the strips and the adhesive residue. The latter part of the text delves into vital queries concerning LED strips, which must be comprehended before using them.
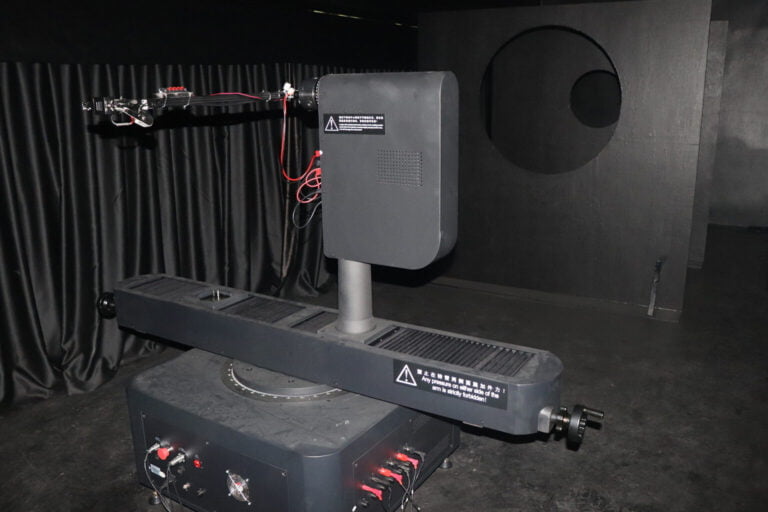
MyLikeLed is a producer of top-grade LED strips and LED neon flex. Our products undergo rigorous testing in advanced labs to guarantee the highest quality. Furthermore, we provide customization options for our LED strips and neon flex. If you’re looking for an exceptional LED strip or LED neon flex, don’t hesitate to contact MyLikeLed!

Hi, I’m Xylia Xiong, a sales professional with 14 years of experience in the LED strip light industry. I specialize in providing tailored solutions, leveraging my expertise in LED products and the latest industry trends. Known for effective communication and problem-solving, I’m dedicated to helping lighting manufacturers, importers, and distributors achieve their goals.
Let’s work together to create customized solutions that exceed expectations.