Wiring the LED light is crucial to achieve a seamless luminance output. If the wiring is not properly done, the LED strip light will not function. It may cause flickering or dimming of light, hampering the LED performance.
This article gives you all kinds of wiring solutions for LED strip lights. From basic terms like understanding the wiring of your LED strip to preparing the connection for perfect assembling and wiring, I’ve got you covered.
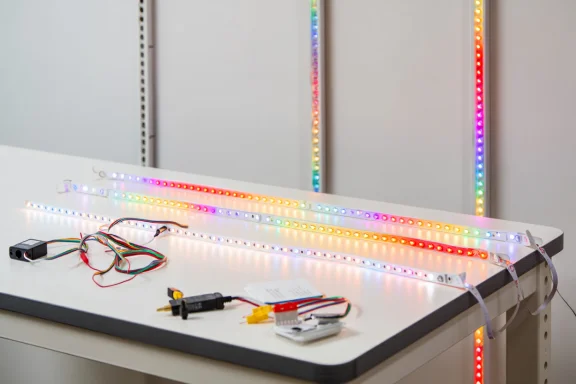
LED Strip Light: An Overview
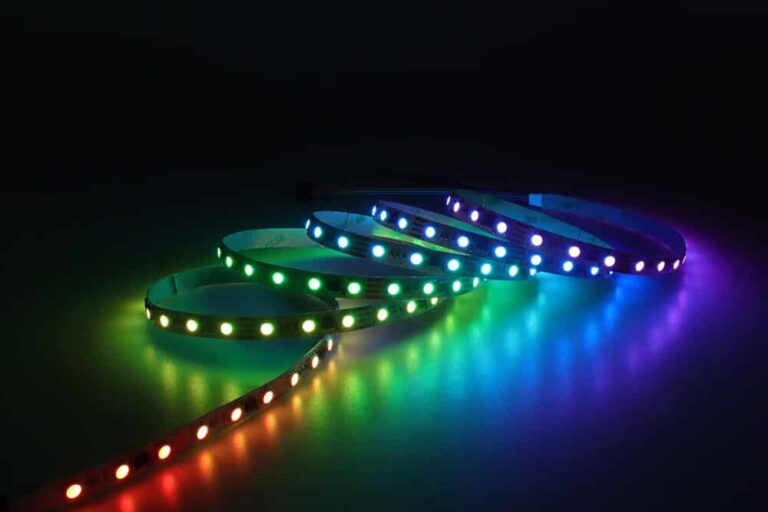
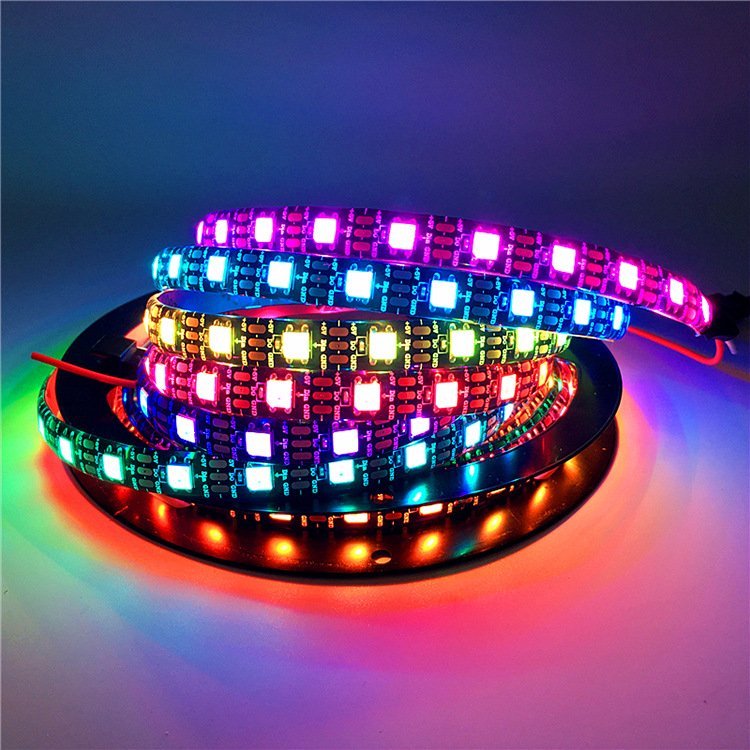
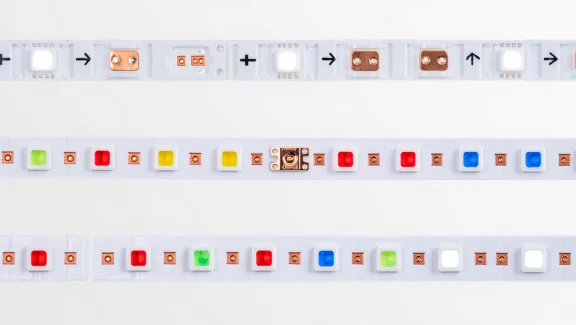
LED strip lights are convenient, and flexible LED circuits are embedded into thin strips. It can be cut to a customized size, and various colours and luminosity are available. The LED strip light is also highly energy efficient. It mostly comes in an adhesive backing facility for easy application.
For all these reasons, LED light strips have become immensely popular in residential, commercial, and industrial areas. It gives a clean and modern look, which is adored by consumers. There is also a customized color option. RGB, warm color, and dimmable LED strips are available.
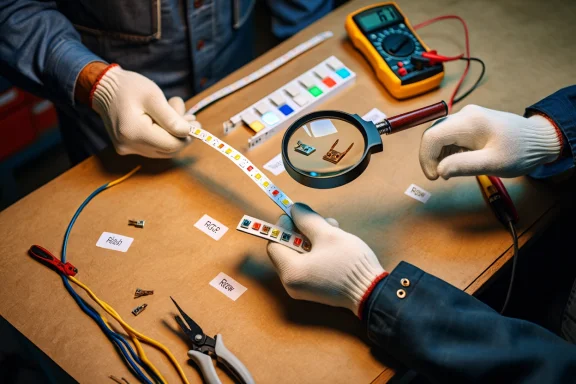
Materials Needed For Wiring LED Strip

Some required materials for properly wiring LED strip lights are-
- Power supply or LED driver
- LED strip light( Must match the voltage of the power supply)
- Connecting clips
- Soldering tools for permanent wiring
- Wire cutter
- Screwdriver
- Controller or Dimmer( required for color changing or dimming LED strips)
- Mounting clips
- Heat shrink tubing for weatherproofing
- Waterproof connectors
Important Terms To Understand LED Strip Wiring
Before diving into wiring the LED strip, there are some crucial terminologies. This includes voltage drop, series and parallel connection, and an LED amplifier.
Voltage Drop
A voltage drop occurs when electricity travels through the wire; the voltage at the end is lower than at the beginning, which means some voltage is dropped. It significantly affects the luminosity of the LED strip and may cause light flickering and dimming unintentionally.
It usually occurs in longer wires. To recover from a voltage drop, a thicker wire is needed. Also, the usage of the amplifier with a few-meter interval prevents voltage drop. Shortening the wire run and using power from both ends is also effective.
Series And Parallel Connection
To avoid voltage drop and dimming of the LED strip, it must be wired in a parallel connection. In this way, all of the components are directly connected to the power supply. In this connection, the voltage is the same at all LED circuits, and the current is divided. If one circuit breaks, the other still works efficiently.
A series connection is not appropriate for LED wiring. It splits the voltage, causing flickering and dimming issues.
LED Amplifier
An LED amplifier helps to boost the power supply of LED lights uniformly. For long wires, the signal tends to slow down or become dull. So, an amplifier is attached every 5 meters or so to enhance the signal and pass it to the next LED light.
Users can connect multiple RGB or RGBW LED lights to one power supply using an amplifier. It prevents voltage drop and reinforces the original signal, which results in continuous, smooth light output.
Step-By-Step Process Of Wiring LED Strip Light
The basic procedure of wiring an LED strip includes these 5 steps-
01. Understanding The LED Strip Type
Before starting the wiring process, it is essential to look up which type of LED strip is used. For a single-light LED strip, only two terminals (positive and negative) are needed. It is also the simplest one to wire.
In the case of RGB, four terminals are required for the red, green, and blue colors, and one anode. The RGB controller is used here for better wiring of the colors. Similarly, RGBW has added a tunable white color, which needs five terminals and an advanced controller.
The LED strip also has an addressable feature included, which uses ICs like WS2812B and APA102. These addressable LEDs can be separately controlled.
02. Cutting Length Accordingly
The first step of wiring is to cut the long LED strip according to the project length. There are multiple scissors signs that indicate the cutting line. After cutting in proper lines, the copper pads will be visible. If the light strip is waterproof, you may need to peel the silicone cover off the wires.
The bare copper pad is where wires are connected through soldering or connecting clips. Randomly cutting the strip will cause damage to the final output. The LED may not light up after that point, as the current flow is inhibited there.
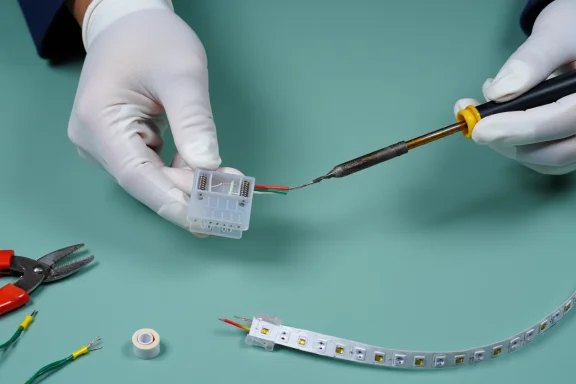
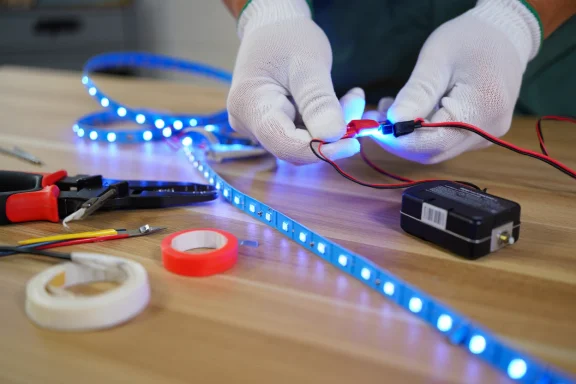
03. Preparing The Connector
Preparing the connector is a crucial step, as the smooth performance of the LED strip depends on it. If the connector doesn’t fit well with the bare copper pad, the LED will not run or cause flickering.
There are two types of connectors. It is a plastic connector clip. Another one is soldering wire. Solderless connector clip is well-performed in temporary usage. It is also easier to connect without much knowledge of wiring.
On the other hand, soldering of the wire is a permanent solution. However, it needs much skill and knowledge regarding the wires and connectors.
After connecting, check for any issues. If the lights are not working, it means the wrong polarity. If the connector heats up, it is generally an indication of undersized wiring.
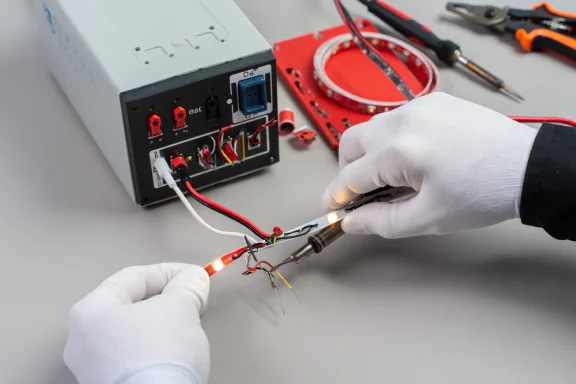
04. Connecting To Power Supply
To connect the LED strip to the power supply or LED driver, joining with the corresponding positive and negative terminals is the easiest solution. You only need to join the wires accordingly. Then, test the light by turning the power supply on.
An adapter or direct soldering will give a permanent attachment to the power supply. A power supply on/off switch can also be incorporated.
05. Checking
Finally, double-check the polarity and give the LED strip a dry test(without mounting). Inspect if there is any flickering or buzzing sound, or if any heating occurs. Additionally, check the voltage drop with a multimeter.
Different LED Strip Wiring Systems
Let’s see some of the common LED strips wiring systems here–
Single Color LED Strip
The simplest wiring system, with only two terminal-positive and negative. A single-color LED strip emits one color of light and operates at 12V or 24V DC.
Non-Dimmable LED Driver
A non-dimmable LED driver provides a constant power supply so that the light strip never dims. It is crucial for smooth and constant light support. It converts 120/240V AC to 12/24V DC. So, the non-dimmable driver 2-wire AC input and 2-wire DC output work properly.
Dimmable LED Driver
In the case of a dimmable LED driver, there are three input units required: AC input, DC output, and Control unit. Most of the LED driver uses a 0- 10V TRIAC or PWM dimmer. It is mandatory to match the dimmer with the driver.
LED Controller
This one is generally used for adjusting the luminosity of the LED light, changing or adjusting RGB, and tunable white or warm LED lights. Smaller projects or strips only need the LED controller, whereas larger projects, like outdoor applications, need an amplifier.
Tunable White LED Strip
Adjustable ambiance is achieved through a tunable white LED strip. This is also known as correlated color temperature, or CCT, which combines warm and cool white in a manner to produce customized white light. Positive diode, warm white negative, and cool white negative are three of the wires needed.
RGB, RGBW, RGB+CCT LED Strip
RGB LED strip uses four wires- red, green, blue, and positive. The RGBW uses five wires- positive, red, green, blue, and tunable white. Lastly, the RGB+CCT uses red, green, blue, and white ( warm and cool tones) and the mandatory positive wire. All of these LE stripes are 12V or 24V.
Addressable LED Strip
Users can customize each LED light with individual circuit control. Addressable LED is generally used for creating dynamic output and interactive patterns.
Non-Addressable LED Strip
Non-addressable LED strips are all tied together uniformly. There might be four to six wires, depending on the type of LED and color pattern. Wiring this is simpler than the addressable one.
DMX512 LED Strip
DMX512, also known as Digital Multiplex 512, is a system that has a controller, decoder, and single or multiple LED strips. It is highly precise and used in multimedia, like concert stages or the decoration of fairs and theme parks. The signal is carried through 3 3-pin XLR or RJ45 cable from the control to each LED light. As a result, the precise function of dynamic lighting is visible.
Common LED Strip Wiring Issues And Solutions
- The LED may not turn on at all. This might be due to an error in polarity. The positive and negative wires are reversed. In this case, double-check the wiring polarity.
- Voltage drop is another common issue. Using shorter LED strips will stop this problem. In the case of a long wire, power injection helps to prevent voltage drop
- Incompatible power voltage will cause flickering and a buzzing sound. If this continues, it may damage the lifespan of the LED strip.
- Overheating of the LED strip and controller. It is highly dangerous and may burst the light bulbs, resulting in not working of the LED. Ensuring proper wattage is the solution.
- The dimmable LED strip may flicker or show dotting, or there might be a lack of a smooth dimming experience. This problem occurs when a dimmer is not compatible with the driver.
Conclusion
Proper wiring is essential for the best LED light experience. If the wiring is not done accurately, it causes dimming, buzzing sounds, light flickering, or even overheating. All these are highly dangerous for the owner’s safety and reduce the LED strip’s longevity drastically.
It is also important to buy the best quality of LED strips and wires. And MyLikeLED provides premium materials and high-end LED strips at reasonable prices.
FAQ
How to wire LED strip light to lighting circuits?
To wire LED strip light to the lighting circuit, determine the power source type, then use an LED driver or power supply. Connect the live and neutral wires of the light circuit to the AC input. Then connect the DC output to the LED strip.
How do I connect LED lights together without a connector?
You can connect the LED lights together without a connector via the soldering process. First of all, cut the mark point. Then apply solder to the copper pad, and attach the prepared wire to the coordinated pad. Check the connection.

Hi, I’m Xylia Xiong, a sales professional with 14 years of experience in the LED strip light industry. I specialize in providing tailored solutions, leveraging my expertise in LED products and the latest industry trends. Known for effective communication and problem-solving, I’m dedicated to helping lighting manufacturers, importers, and distributors achieve their goals.
Let’s work together to create customized solutions that exceed expectations.