Light Dimming represents a modern, adaptable method for managing illumination. It not only offers energy conservation opportunities but also allows for mood customization. LED lighting, a significant player in the lighting industry, is expected to show enhanced dimming capabilities.
The 0-10V dimming process, a popular analog method, adjusts light output from 0 to 100% through a control voltage signal. As the name suggests, this system operates between 0 to 10 volts.
Although various methods exist to dim LEDs, 0-10V dimming remains a prevalent choice for commercial and industrial lighting control. This article aims to provide comprehensive knowledge on whether 0-10V Dimming would suit your project.

0-10V Dimming Explained
0-10V Dimming is essentially a method to adjust the brightness of a light. It operates on a direct current (DC) voltage ranging from 0 to 10 volts. The 0-10V dimming system offers a straightforward lighting control approach, permitting smooth operations and dimming levels down to 10%, 1%, or even 0.1%.
At 10 volts, the light reaches its maximum brightness, while at 0 volts, it dims to the minimum level. However, a separate switch may sometimes be required to switch it off entirely.
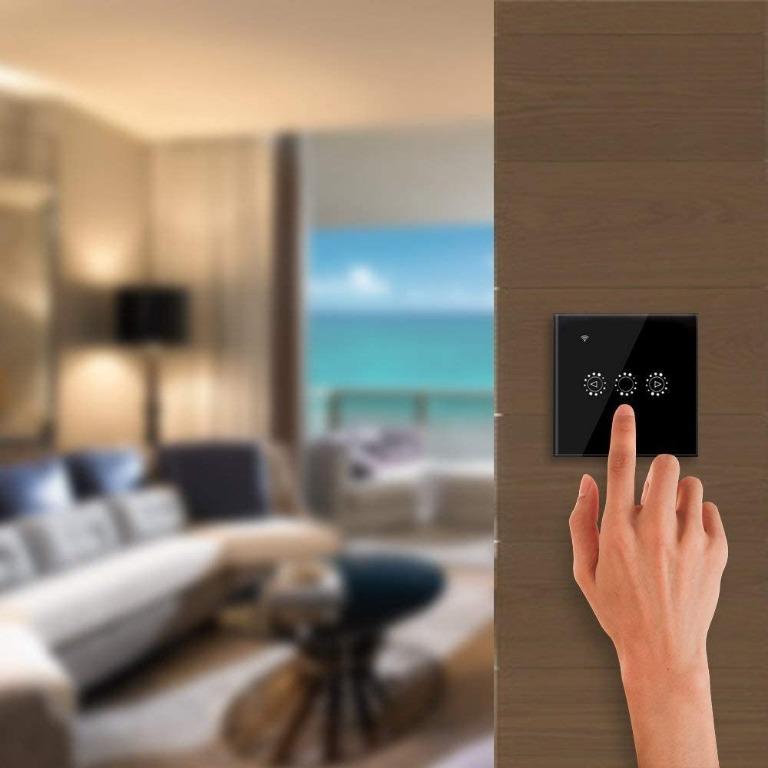
This user-friendly lighting control system can be integrated with LED lights for various lighting options and moods. Using a 0-10V dimmer, you can adjust the lighting intensity to match your mood or activity. For instance, you can create an elegant atmosphere in bar and restaurant seating areas.
History of 0-10V Dimming
Also known as fluorescent dimming systems or five-wire dimming systems, 0-10V dimming emerged when large systems required a versatile method for dimming lights in sync without altering anything except the bulbs. This solution greatly aided corporations during that time.
While 0-10V dimming systems continue to be used, they are gaining popularity with modern lighting solutions such as LEDs. This system’s widespread recognition and use can be attributed to the International Electrotechnical Commission (IEC) standard number 60929 Annex E, widely endorsed by companies and engineers.
Working of 0-10V Dimming
0-10V dimming-enabled LED drivers contain a circuit with a purple and gray wire, which generates a 10V DC signal. When these wires are isolated, the signal remains at 10V, translating to 100% light output. Conversely, when the wires touch or are “short,” the dimming signal falls to 0V, and the light reaches the driver-set lowest dimming level. A 0-10V dimmer switch reduces the voltage or “sinks” it, enabling the signal to shift from 10V to 0V.
Generally, the DC voltage corresponds to the driver’s dimming level. For instance, an 8V signal implies 80% light output. If the signal is dialed down to 0V, the light reaches its dimmest level, which could range between 10% and 1%.
Where Can a 0-10V Dimmer Be Used?
Initially, 0-10V Dimming was devised as a standardized method to control fluorescent lights equipped with dimming ballasts, and this usage persists. However, with advances in LED technology, 0-10V dimming has evolved into a dependable method for controlling LED light dimness.
This system finds utility in dimming LED fixtures in retail stores, office buildings, entertainment venues, theaters, and other commercial spaces. It can also be used for external commercial applications that require versatile lighting. LED high bays, LED flood lights, LED strips, LED neon, and LED retrofit kits are among the fixtures that can be dimmed using this system.
While the mood-altering capability of dimmable fixtures is a significant factor in their selection, there are additional reasons for choosing this type of lighting control system.
0-10V Dimming vs. Other Dimming Systems
Numerous dimming systems are available in the lighting industry, each with unique pros and cons. 0-10V Dimming is a simple, widely utilized analog dimming technology compatible with many lighting fixtures and control systems. However, it is limited in its control range and can be affected by interference and noise. In contrast, DALI, PWM, wireless, TRIAC, and DMX dimming technologies offer advantages and disadvantages. For example, DALI provides precise individual control of each lighting fixture, but it may be more complex and costly to install and operate than other systems.
| Dimming System | Advantages | Disadvantages | Typical Applications |
| 0-10V Dimming | Simple to install and operate, compatible with many lighting fixtures and control systems | Limited control range, susceptible to interference and noise, requires a dedicated control wire. | Simple dimming applications, retrofitting existing lighting systems |
| DALI | Precise and individual control of each lighting fixture, easy to integrate with building management systems | It is more complex and expensive to install and operate, requiring special wiring and control equipment. | Large commercial and industrial applications, high-end architectural lighting |
| PWM | Precise and flicker-free Dimming, high efficiency, compatible with many LED fixtures | It can be complex to program, has a limited Dimming range, and requires special control equipment. | LED lighting applications, including high bay and outdoor lighting |
| Wireless | It is flexible and easy to install and can be controlled remotely and programmatically; no wiring is required. | May be susceptible to interference and hacking, limited range of control | Residential and commercial lighting applications, smart home systems |
| TRIAC | Simple and low-cost, compatible with many lighting fixtures and control systems | It can produce audible humming or buzzing, may not be compatible with all LED fixtures. | Residential and commercial lighting applications |
| DMX | Flexible and programmable, compatible with many lighting fixtures and control systems | More complex and expensive to install and operate, it requires specialized control equipment and software. | Stage lighting, theatrical productions, architectural lighting |

What Do You Need for 0-10V Dimming?
Because of the inherent characteristics of LEDs and certain drivers, not all are compatible with 0-10V dimmers. Ensuring your fixture has the right components for dimming functionality is crucial. In some scenarios, merely replacing the driver can render an existing fixture dimmable. LED technology has significantly advanced in recent years, and most commercial LED fixtures now come with dimming capabilities. Once compatibility is established, low-voltage wiring must be routed from the fixture to a suitable wall switch.
Recommended Wiring Practices for 0-10v Dimming
Your fixture’s driver can be class one or two circuits, which may lack or have substantial safety protection warnings.
With a class one circuit, it is crucial to handle high-voltage output safely. Although the power is limited in a class two circuit, making it impossible to cause an electric shock or start a fire, class one is usually more efficient as it can power many LEDs.
The source (driver) is typically connected to the dimming signal, which features a purple wire for +10 volts and a gray wire for the signal. When these wires don’t touch, the dimmer output will peak at 10 volts or 100%.
When the wires touch, the dimmer control output reduces to 0 volts. The lowest level is 0 volts, and depending on the driver, the fixture will either enter sleep mode, switch off entirely, or require a dimmer switch for deactivation.
During power or analog controls installation, it’s best to keep the distance between the analog control wiring and the driver as short as possible. As the National Electric Code mandates, all class two control circuits must be kept separate from class two line voltage wiring.
This separation is crucial because higher voltage wiring can transmit alternating current voltage to lower voltage signals, potentially causing undesirable effects and safety issues with dimmed lights.

Steps for Setting Up a 0-10V Dimming System
Let’s delve into the process of installing a 0-10V dimming system:
- Start by gathering the necessary tools: Ensure you have a 0-10V dimming driver, a compatible dimmer switch, and LED lights designed to work with your dimming system.
- Power down: Remember to shut off the circuit you’ll be working on before installing.
- Connect the power source and LED lights to your dimming driver.
- Attach the dimming switch to the dimming driver.
- Test the system to confirm it’s operating as it should.
Remember to adhere to all safety protocols and follow the instructions provided with your equipment. Good luck with your installation!
The Advantages of 0-10V Dimming
Let’s discuss the reasons for selecting a 0-10V dimming system and how it will benefit you.
- This is a state-of-the-art technology that pairs perfectly with LED lights.
- It ranks among the simplest strategies for conserving electricity as a dimmer allows for precise control.
- You will save on your electricity bills and prolong the lifespan of your LEDs.
- The ability to adjust the light intensity makes this system versatile. For instance, you can amp up the brightness for outdoor sports fields or dial it down for the subdued ambiance of a restaurant.
- It’s a popular choice in the market as it complies with IEC standards.
- It serves outdoor business operations well when there’s a need to lower the brightness.
- It’s ideal for residential areas such as living rooms, bedrooms, and kitchens and also fits well in commercial spaces like restaurants, hospitals, warehouses, and offices.
What Are the Challenges of Implementing 0-10V Dimming?
Acknowledging the challenges associated with 0-10V dimming is critical, given that all technology has advantages and disadvantages.
- Integrating the 0-10V dimming system with the primary dimming system can be complex.
- The number of manufacturers for 0-10V dimming is limited; hence finding a quality product could be challenging.
- These dimmers’ operation depends on drivers and blasts, requiring detailed specifications and guidelines to understand their functioning.
- The 0-10V dimming system experiences voltage drop issues due to resistance in the wires inherent in analog systems.
- The installation of a 0-10V dimming system incurs higher labor and wire costs.
Recommendations for Utilizing 0-10V Dimming Systems Effectively
For efficient usage of the 0-10V dimming system, it’s recommended to adhere to the following best practices:
- Use Compatible Equipment: Ensure your equipment, including LED lights, dimming drivers, and dimmer switches, is compatible with your 0-10V dimming system.
- Follow Wiring Diagrams: For safe and efficient connections, adhere to the wiring diagrams provided with the equipment using the correct wire sizes and connectors.
- System Testing: Before deploying the system, run a thorough test to ensure a smooth and even dimming range without any buzzing or flickering of lights.
- Use Appropriate Loads: Avoid overloading the system with too many lights or heavy loads; stick to the loads appropriate for the dimming system.
- Control Voltage Drop: Be vigilant about potential voltage drops over long distances or when using multiple loads. Use appropriate wire sizes and follow equipment manual instructions or manufacturer’s guidelines.
By following these best practices, you can ensure your 0-10V dimming system operates safely, reliably, and effectively to fulfill your lighting needs.
Troubleshooting 0-10V Dimming Systems
It is relatively straightforward when troubleshooting dimming systems using the 0-10V method compared to other dimming methods. Let’s explore common issues that may arise with 0-10V Dimming and learn how to address them.
- Driver and Dimmer Issues
If the light fixture doesn’t respond well to dimming, the dimmer or driver might be faulty. Begin by ensuring that the driver is functioning correctly. The dimmer and LED driver are connected using two low-voltage control wires.
To test the driver, remove the wires from the circuit and briefly touch two of them together. If the light dims to the lowest level, the driver functions properly, indicating a problem with the dimmer or the wires. If the light doesn’t dim, the driver is not working as intended. In such a case, replacing the driver may resolve the issue.
- Noise Caused by Wiring Issues
Pay attention to the wiring if you notice noise coming from the light fixture when you adjust the dimming level. The AC power cables near the 0-10V DC wires may be causing the noise. Improper positioning of the wires can also lead to dimming faults.
The issue might arise if the 0-10V DC wires are close to AC wires or housed in the same conduit as AC wires. Noise often indicates an incorrect installation, so verifying that the light-dimming system functions properly after the initial installation is essential.
- Improper Dimming Range
Not all 0-10V dimmers can provide the full range of 0-10V to the drivers because some dimmers may not be compatible with certain drivers. To ensure compatibility, refer to the lists of compatible dimmers provided by the driver and light fixture manufacturers.
When connecting 0-10V dimmers to a 1-10V driver, you may encounter flickering, stuttering, and flashing issues during common dimming control. These problems are more noticeable when using the on-off setting, and it becomes impossible to completely turn off the light fixture without cutting off power.
By incorporating 0-10V dimming into a lighting system, it is possible to adjust the light intensity, reducing energy consumption.
The Future of 0-10V Dimming
Over the years, 0-10V dimming has established itself as a reliable and cost-effective method for adjusting the brightness of light fixtures. However, with the continuous growth of the lighting industry, one may wonder what lies ahead for this technology.
As the industry expands, new control methods have emerged, capturing the attention of designers and users alike. Voice-activated systems, Bluetooth connectivity, and wireless controls have gained popularity. Nevertheless, these innovative technologies can be challenging and often come with a hefty price tag, limiting their applicability in certain situations.
Despite the rising popularity of these new control methods, it is expected that 0-10V dimming will continue to be widely used. Many lighting companies still produce fixtures compatible with this method, as it remains a straightforward and dependable approach to regulating light intensity.
While the lighting industry continues to evolve, 0-10V dimming will likely persist as a practical and affordable option for various applications.
In Summary
Now you have a clearer understanding of what 0-10V Dimming entails! It is a method for adjusting the brightness of light fixtures by transmitting a low-voltage signal. This dimming technique has enjoyed widespread adoption in the lighting industry due to its simplicity and reliability.
One of the significant advantages of 0-10V Dimming is its compatibility with different types of lighting, including LED, fluorescent, and incandescent. It can be effectively implemented in residential and commercial projects of all sizes.
If you seek a cost-effective solution for controlling the brightness of your lighting, 0-10V dimming might be the ideal choice. The setup and maintenance costs are relatively low compared to other dimming methods. Moreover, it is easy to install, making it an excellent option for upgrading existing lighting systems.
Overall, 0-10V Dimming remains a tried-and-true approach for controlling light intensity, and it continues to be widely used in the lighting industry. Therefore, consider 0-10V dimming a reliable and cost-effective option when planning your next lighting project.
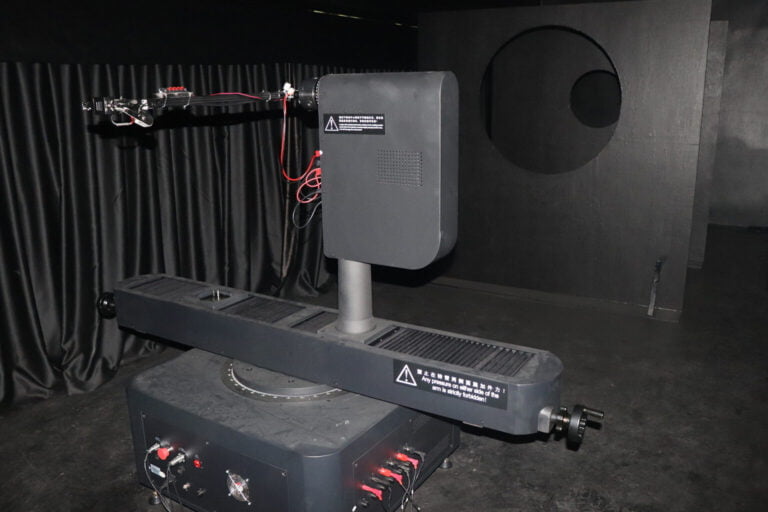
MyLikeLed specializes in manufacturing high-quality LED strips and LED neon flex. Our products undergo rigorous testing in state-of-the-art laboratories to ensure exceptional quality. Additionally, we offer customizable options for our LED strips and neon flex. For the premium LED strip and LED neon flex, contact MyLikeLed today!

Hi, I’m Xylia Xiong, a sales professional with 14 years of experience in the LED strip light industry. I specialize in providing tailored solutions, leveraging my expertise in LED products and the latest industry trends. Known for effective communication and problem-solving, I’m dedicated to helping lighting manufacturers, importers, and distributors achieve their goals.
Let’s work together to create customized solutions that exceed expectations.