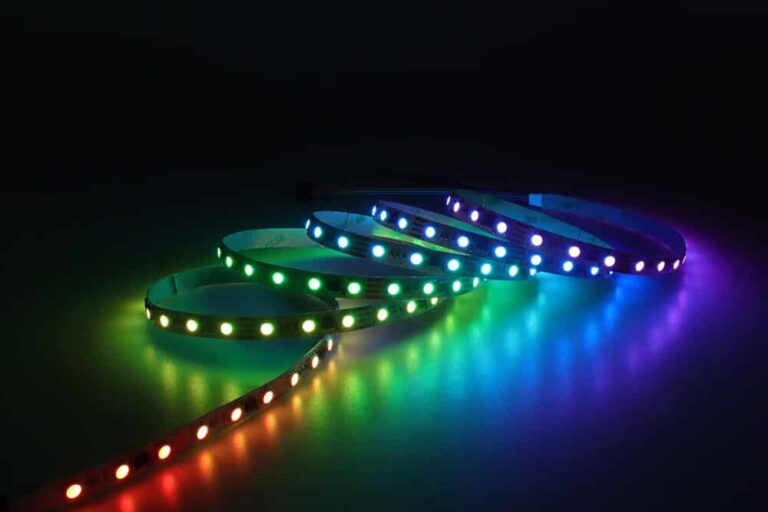
LED strip lights are topping the charts as one of the most sought-after and captivating decorative elements for various events. Owing to their impressive ability to create a striking lighting effect when bouncing off a flat surface, they are an outstanding choice for enhancing aesthetics.
To install them effectively, the surface should be thoroughly cleaned to remove dust and dirt. Then, affix the LED strip onto the surface, trim any extra length, and secure the strip using sellotape or transparent tape.
This guide provides a detailed walkthrough of setting up LED strip lights on your ceiling, suitable for your home, office, or other venue.

Essential Equipment List
Whether you’re an expert electrician or an LED installation beginner, proper equipment is key to success. Here’s a list of tools you’ll need to install your LED strip lights effectively:
1. Wire Cutter
A wire cutter simplifies installing wiring to LED strip lights, making it easier to cut and strip 16-22AWG stranded wires to the necessary lengths.
2. Screwdrivers
A small flathead or Phillips screwdriver is fundamental, as many LED components often require these during the installation process.
3. Voltage Tester
A voltage tester is a powerful tool for examining your electronic connections. It allows you to rapidly gauge the voltage difference between two points in an electric circuit.
4. Heat Shrink, Electrical Tape, and Wire Connectors
Whether using wire nuts or electrical tape to connect the wire and apply heat shrink, it’s essential to utilize appropriate connectors when setting up your LED project.
5. Soldering Iron
If you plan on frequently working with LED strip lights, a budget-friendly soldering iron would be a worthy investment. It enables you to cut and rejoin the strips to the exact lengths required for your project.
Necessary Abilities and Important Considerations
Beginning with LED strip light installation can be challenging for novices without professional guidance. Despite the straightforwardness of the process, you need to possess the following foundational abilities for a seamless installation.
Handling strips isn’t second nature to everyone. Before working with electrical wires, it is crucial to understand their functions. Basic knowledge of using appropriate tools and connecting the right wires in their respective places is key.
Users might prefer to connect two or more strips to a single power source. For this, a two-way power splitter is essential to avoid using separate power adapters for each LED strip. Before starting with the adapter, verifying that the strip’s wattage doesn’t surpass the adapter’s total output capacity is imperative.
- It is important to grasp a clear understanding of these connectors and exercise caution before using them.
- Assessing the compatibility of the strips and the adapter’s compatibility should be considered. The user must comprehend the connection process of the splitter to the adapter before plugging it in.
Gaining knowledge about the tools required for installation is vital. The necessary tools for the procedure include a wire stripper, voltage testers, screwdrivers, and electrical tapes.
- A measuring tape can measure the perimeter of the surface where the strips will be installed.
- An accurate measurement will ensure a perfect fit on the intended surface.
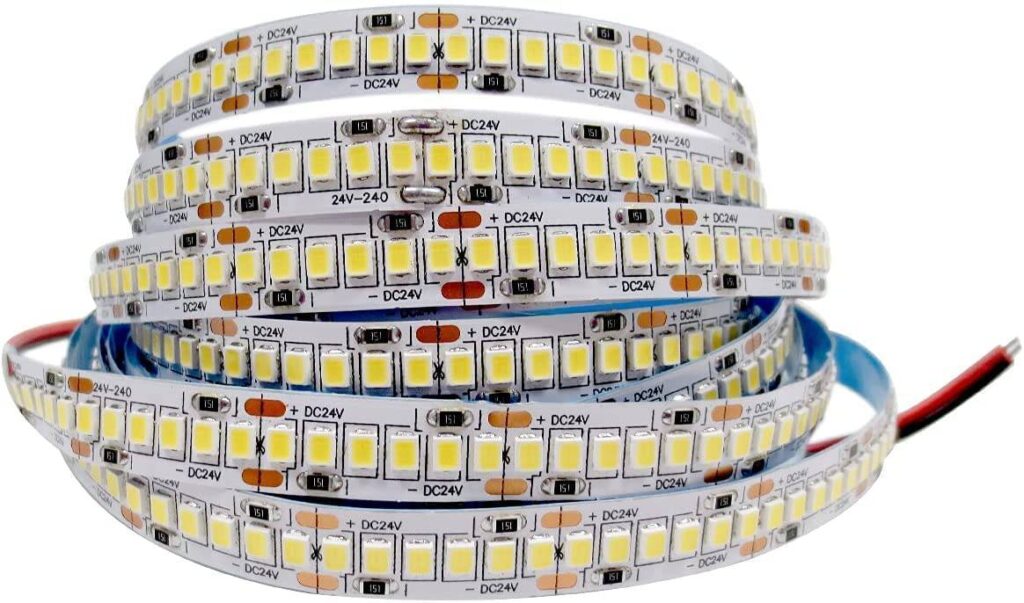
The LED strip lights should be cut according to the surface length using scissors. Ideally, the strips should be cut at every two copper dots found at the end of LED units. Cutting from these points won’t interfere with the strip’s electrical conductivity.
Step-by-step LED Strip Lights Installation Guide on Your Ceiling
Step #1
Begin by carefully measuring the perimeter of your room’s ceiling, considering all corners and turns. Also, measuring the distance from your power outlet is essential if the power supply comes with a short wire. LED strips are typically available in predetermined lengths, so you’ll need to decide how many reels of LED strips you’ll need. You can trim these strips to fit your measurements using the copper cutting points provided on each reel. Consider using high-quality LED strips like the MylikeLed’s Tunable White Strip Light, crafted from a durable double-layer copper board (non-waterproof). It boasts enhanced brightness, and the strips are cuttable, touchable, adjustable for brightness, and dimmable.
Step #2
To achieve the best visual effect and reduce unnecessary reel or wiring waste, it is important to position your power outlet as close as possible to the source supply that accompanies your LED strip reel. This will help to keep the wiring clean and concealed.
Step #3
To ensure your LED strips’ longevity, ensure your installation area is well-ventilated. Avoid tucking them behind large pieces of furniture or dense curtains, as this could hinder airflow and cause overheating. It is also crucial to use coving material that promotes heat dissipation, such as aluminum—wood is not a good choice. The coving should also be sufficiently wide and deep to allow proper ventilation.
Step #4
Now for the exciting part—attaching the strips to the surface. This process involves using double-sided tape. First, apply it to the strip, and then attach the strip to your chosen location on the wall or ceiling. However, this process can be time-consuming, and the strips might loosen sooner than expected. If your ceiling is porous or textured, you may need additional double-sided tape or wall adhesive to ensure a secure hold. To make this process more manageable, try to peel off and apply only 3-5 inches of tape at a time.
Simplified Guidelines for Efficient LED Strip Lights Installation
Below are some easy-to-follow guidelines to facilitate a smooth and effective installation of LED strip lights. Make sure to adhere to these recommendations to maximize the benefits of LED lighting and prevent any potential damage.
- Before initiating the installation process, thoroughly read and understand the product instructions. Familiarizing yourself with the product’s key features reduces the risk of mishandling. In contrast, improper alterations can lead to faulty setups.
- Inspect the new bulb or light strands for any signs of damage. Look for issues such as diode failures, bare wires, and cracks. Any of these could cause the replacement bulb to not function properly.
- Assess the intended installation area carefully. If the location is indoors, ensure it’s out of reach of children and pets. Don’t cram it with any potentially flammable materials if the bulb breaks. Instead, maintain a safe distance between pieces of furniture.
- If replacing an existing bulb, switch off the power before removing the old one. As the bulb remains electrified when the switch is on, removing it in such a state is unsafe.
- Placement is vital when using LED holiday or commercial string lights, especially on rooftops or challenging-to-reach spots. Therefore, plan your layout on paper before climbing a ladder to hang string lights.
- Once you have double-checked that everything is correctly positioned, you can plug in the light source. To test the bulb at home, simply turn the dial or flip the switch.
Additionally, here are some safety measures you can take to safeguard your family during any potential emergencies:
- Maintain a well-stocked first aid kit and a fire extinguisher in your home to manage fires or treat injuries if necessary.
- Disrupt power immediately in an electrical emergency, such as a fire or injury. This could mean unplugging the appliance or switching off power at the main electrical panel.
- In case of severe injury or a house fire, dial 911 right away. Leave the property while waiting for emergency services. If you encounter any electrical issues that could lead to an emergency, seek professional help from an electrician.
Safety Measures
Consider these safety guidelines when installing LED strip lights in your home or any other location:
- During wall finishing or renovation, the paint might accidentally stain the LED strips, causing a degradation in the hue of the light emitted from the LED chips.
- Exercise caution when removing the LED strip. Refrain from yanking it with so much force that it breaks, and avoid applying unnecessary pressure on the LED chips to prevent them from cracking, which would reveal “gaps” in the strip’s light line.
- It’s important to cut the strip at the indicated spots to prevent interrupting a section, which could lead to the LEDs burning out.
- Position the curves on the strip appropriately. Adhere to the recommended curvature rays and maintain within the upper and lower bounds specified in the guidelines.
- Adhere strictly to the voltage stated in the LED strip’s user manual. Connecting a 24V LED strip to a 220V system could result in irreversible damage to the device.
- Choose LED strips with the right IP rating. A product with the appropriate level of protection is key for the longevity of the LED strip.
Final Remarks
This article undeniably delivers a wealth of knowledge. As a newcomer to LED strips, it’s natural to have many queries and feel overwhelmed with data. If this resonates with you, start by posing simple queries to yourself. This should streamline comprehending the above steps, helping you find the perfect LED strip lights and components.
MyLikeLed is a trusted producer of superior LED strips and LED neon flex. Our products undergo stringent tests in advanced laboratories to guarantee top-notch quality. Plus, we provide the flexibility to customize our LED strips and neon flex to your liking. So, for unparalleled LED strip and LED neon flex solutions, contact MyLikeLed at your earliest convenience!

Hi, I’m Xylia Xiong, a sales professional with 14 years of experience in the LED strip light industry. I specialize in providing tailored solutions, leveraging my expertise in LED products and the latest industry trends. Known for effective communication and problem-solving, I’m dedicated to helping lighting manufacturers, importers, and distributors achieve their goals.
Let’s work together to create customized solutions that exceed expectations.