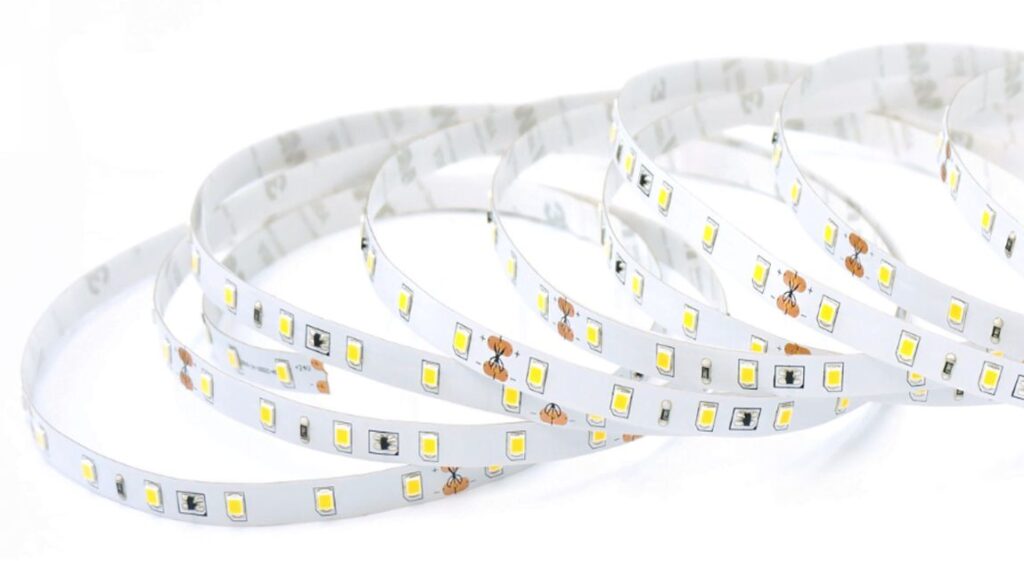
LED strip lights have two primary input voltages, namely 12 Vdc and 24 Vdc. These voltages are considered safe and user-friendly. However, a common issue frequently mentioned is the varying brightness levels along the strip. This phenomenon can be attributed to voltage drop, a typical occurrence in low-voltage lighting systems. In the subsequent sections of this article, we will delve deeper into this topic and explore its intricacies.
What is the voltage drop in LED strips?
The voltage drop in LED strips refers to the reduction in voltage from the power source to the actual LEDs. This drop happens due to resistance within the circuit, where a higher resistance results in a more significant voltage drop.
Within an LED strip’s direct current (DC) circuit, the voltage gradually reduces as it traverses the wire and the strip light. Consequently, extending the wire or strip can result in uneven lighting, with one side of your strip lights appearing brighter than the other side.
What causes a voltage drop in LED strips?
The first factor to consider is the inherent electrical resistance of any length of wire. The longer the wire, the more resistance it has. This resistance leads to a voltage drop, resulting in your LEDs dimming.
The second contributing factor is the resistance within the Printed Circuit Board (PCB) itself. This resistance consumes a portion of the voltage, transforming the electrical energy into thermal energy.
The resistance of the PCB is directly linked to its cross-section size, which corresponds to the PCB board’s width and the thickness of the copper. A larger cross-section equals lower resistance, while a longer PCB increases the resistance.
How do you detect a voltage drop?
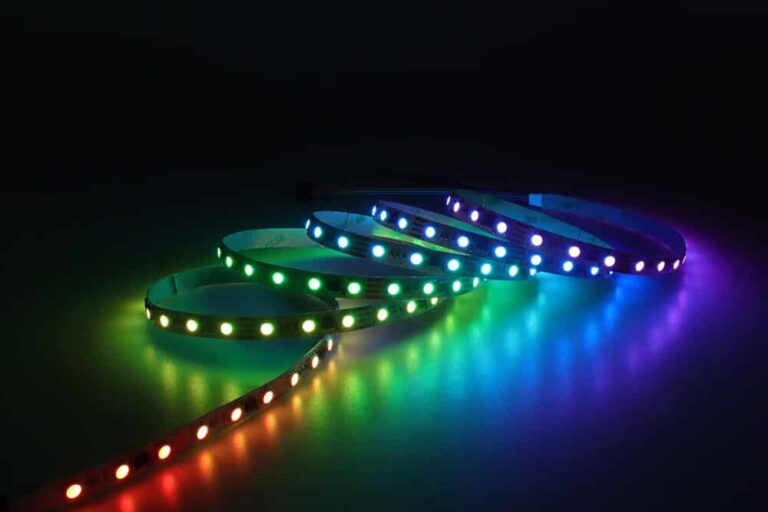
The most noticeable voltage drop in LED strips typically occurs in the white LED strip. You can observe this voltage drop by switching on the white light in the color-changing LED strip.
Consider a scenario where a long white light LED strip is in operation. In the illustration below, the strip begins with a clear white light. As it runs over a distance of 5 meters due to voltage decrease.
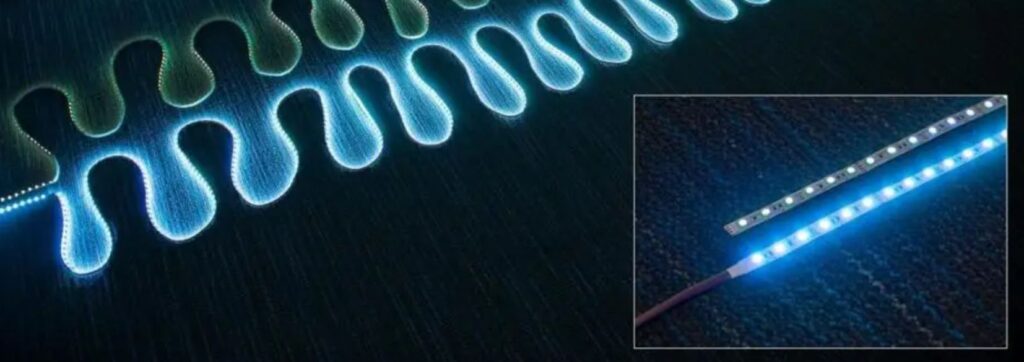
(Note: Avoid keeping the LED light strip lit for extended periods when rolled, as it could potentially damage the strip.)
The LED chips influence the voltage of LED strips. Here are the forward voltages needed for different color chip drives:
-
- Blue LED chip: 3.0-3.2V
-
- Green LED chip: 3.0-3.2V
-
- Red LED chip: 2.0-2.2V
It’s worth noting that white LEDs use a blue chip coated with phosphors. The voltage required to drive the blue chips is higher than that of green and red chips. Consequently, when the voltage of the white LED strip light drops and the current voltage can’t sustain the required voltage for the blue chips, the strip will display a yellow (mixture of green and red) and red color. This happens because their voltage requirements are lower than the white light’s.
Do all LED strips experience a voltage drop?
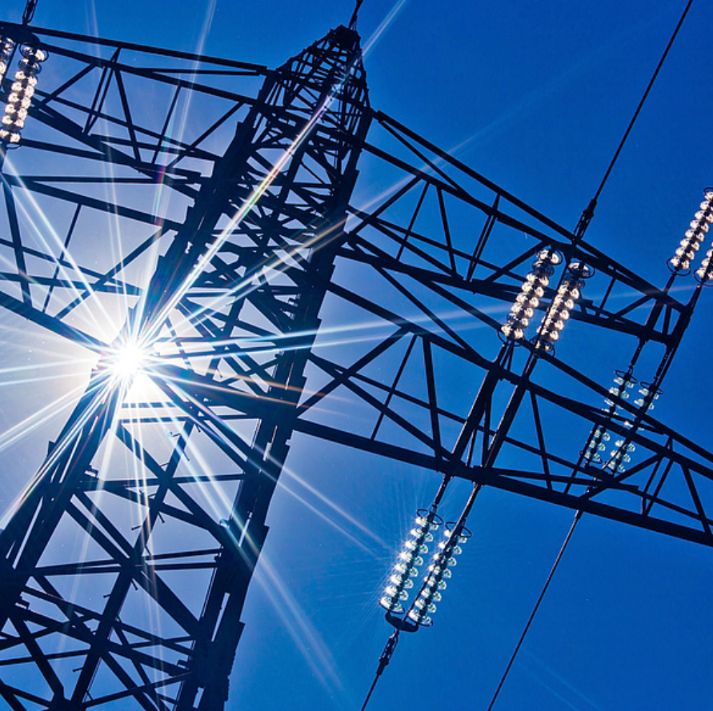
All low-voltage LED strips, such as 5Vdc, 12Vdc, and 24Vdc, are prone to voltage drop issues. The reason is that lower voltage leads to higher current for the same power usage. According to Ohm’s law, voltage equals current times resistance. Given that a conductor’s resistance remains constant, a higher current will result in a more significant voltage drop. This principle also explains why high voltage is used in electricity transmission.
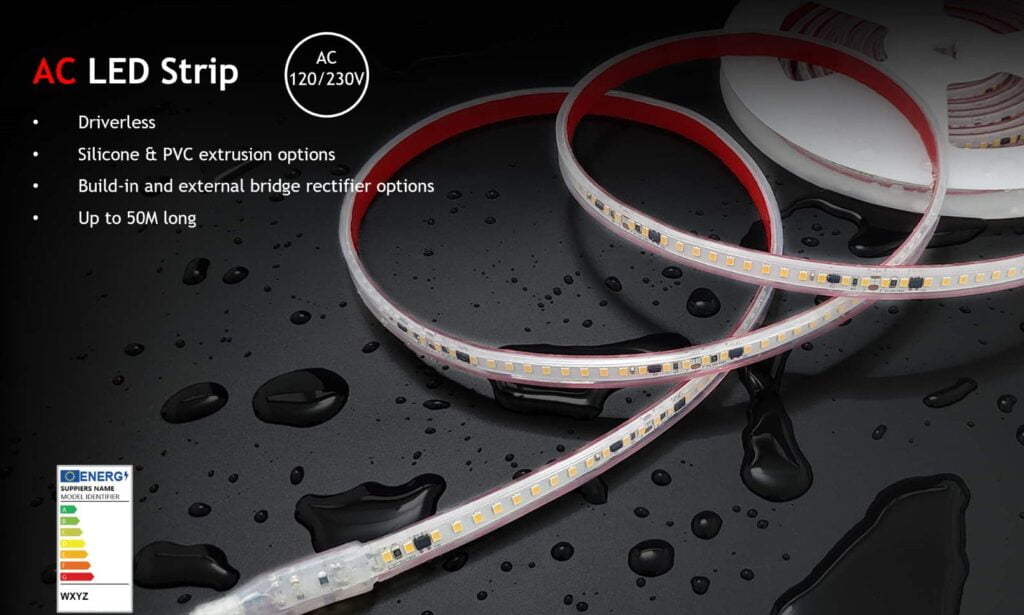
LED strips designed to operate on high voltages, such as 110VAC, 220VAC, and 230VAC, are usually unaffected by voltage drops. These high-voltage LED strips can run as far as 50 meters when powered from one end. The formula “power equals voltage times current” explains why this is so. These LED strips run on 110V or 220V, so their current requirements are relatively small, leading to a minimal voltage drop.
Similar to high-voltage strips, constant current LED strips, typically 24Vdc, also don’t suffer from voltage drops. They are fitted with ICs that maintain a steady current flow through the LEDs, ensuring constant brightness.
However, it’s essential to note that a voltage drop still occurs even in constant current LED strips. For instance, the voltage at the end of the strip can be less than 24V. Under usual conditions, a decrease in voltage results in less current through the LED, reducing brightness. Yet, the ICs in constant current LED strips maintain a steady current, assuming it’s within a specified voltage range (24V~19V).
Is the voltage drop in LED strips harmful?
Typically, a voltage drop in LED strips isn’t harmful since it just results in the LEDs receiving less voltage than initially expected. However, voltage drops can cause heat generation due to converting electric energy to thermal energy within the resistor. This heat can cause issues if your LED strip is near or in heat-sensitive materials. Some components like 3M adhesives and LEDs may also be thermally sensitive, making excessive voltage drops problematic.
What aspects impact the voltage drop?
According to Ohm’s law, the degree of voltage drop in LED strips can be influenced by several factors, where voltage equals current multiplied by resistance.
These factors include the total LED strip current, wire length and diameter, the LED strip length, and the PCB copper thickness.
The total current of the LED strip
You can calculate the total LED strip current from its power specification. The total current equals the total power divided by the voltage. Therefore, higher total power will result in higher current and a more significant voltage drop. For example, LED strips with high power will have a more substantial voltage drop than those with low power.
Similarly, the lower voltage will lead to a higher current and a more pronounced voltage drop. This is why the voltage drop in a 12V LED strip is typically more significant than that in a 24V strip.
The length and diameter of the wire
The wire’s resistance primarily depends on the conductor’s material, length, and cross-section. Longer wires and those with smaller cross-sections will have more significant resistance.
You may use a Wire Resistance Calculation Tool to make these calculations easier.
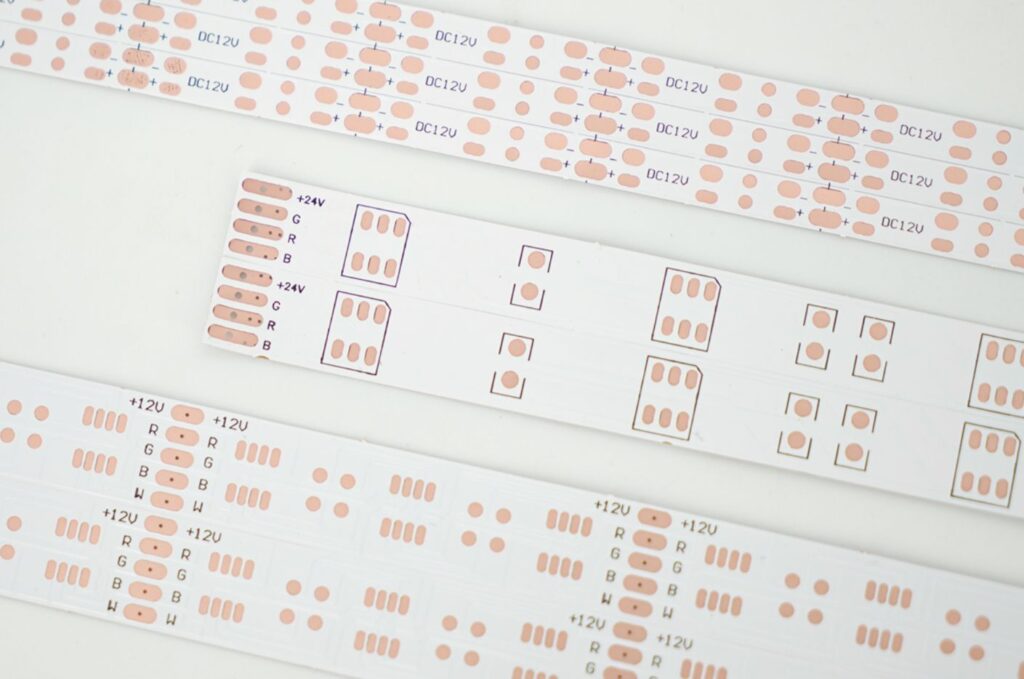
The size and quality of copper in a PCB
PCBs share characteristics with wires, acting as conductors with inherent resistance. Copper, as the conductive material, significantly impacts the PCB’s resistance. The resistance tends to increase as the PCB lengthens while a larger cross-section of copper reduces it. For simplified calculations, you may refer to the PCB Resistance Calculation Tool.
Strategies to Counteract Voltage Drop
Even though LED strips are susceptible to voltage drops, we have several methods to mitigate this issue.
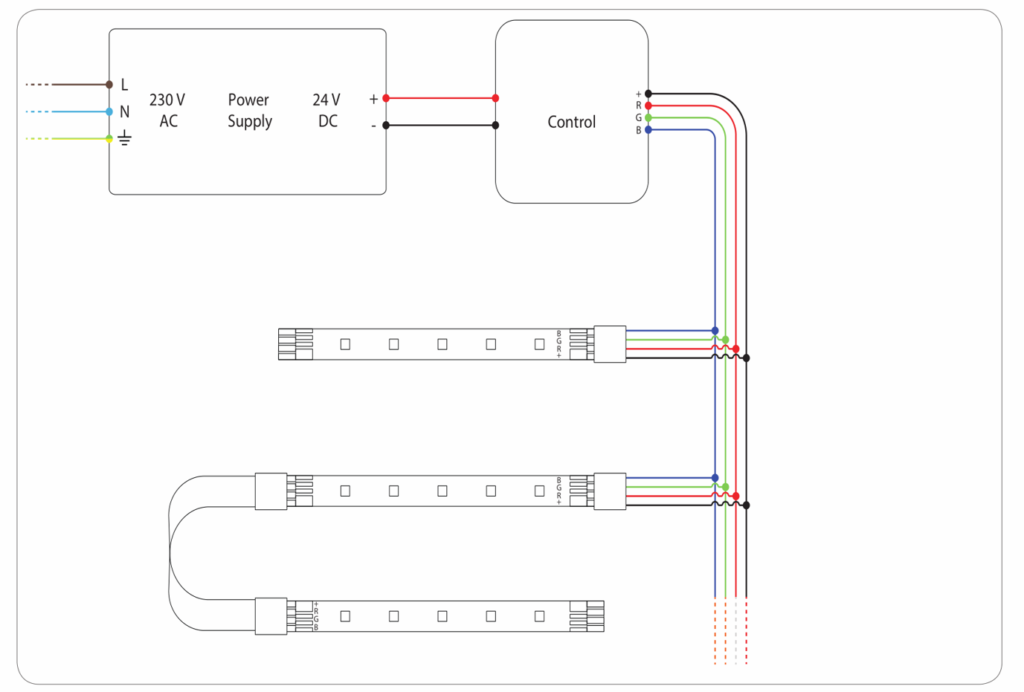
Utilize Parallel Connections
If the LED strip installation exceeds 5 meters in length, connecting each 5-meter strip to the power supply in parallel is advised.
Power Supply at Both Ends of the LED Strip Light
The typical maximum length for commercially available LED strips is 5 meters. However, if a 10-meter LED strip is necessary, it’s possible to connect the power supply to both ends of the strip.
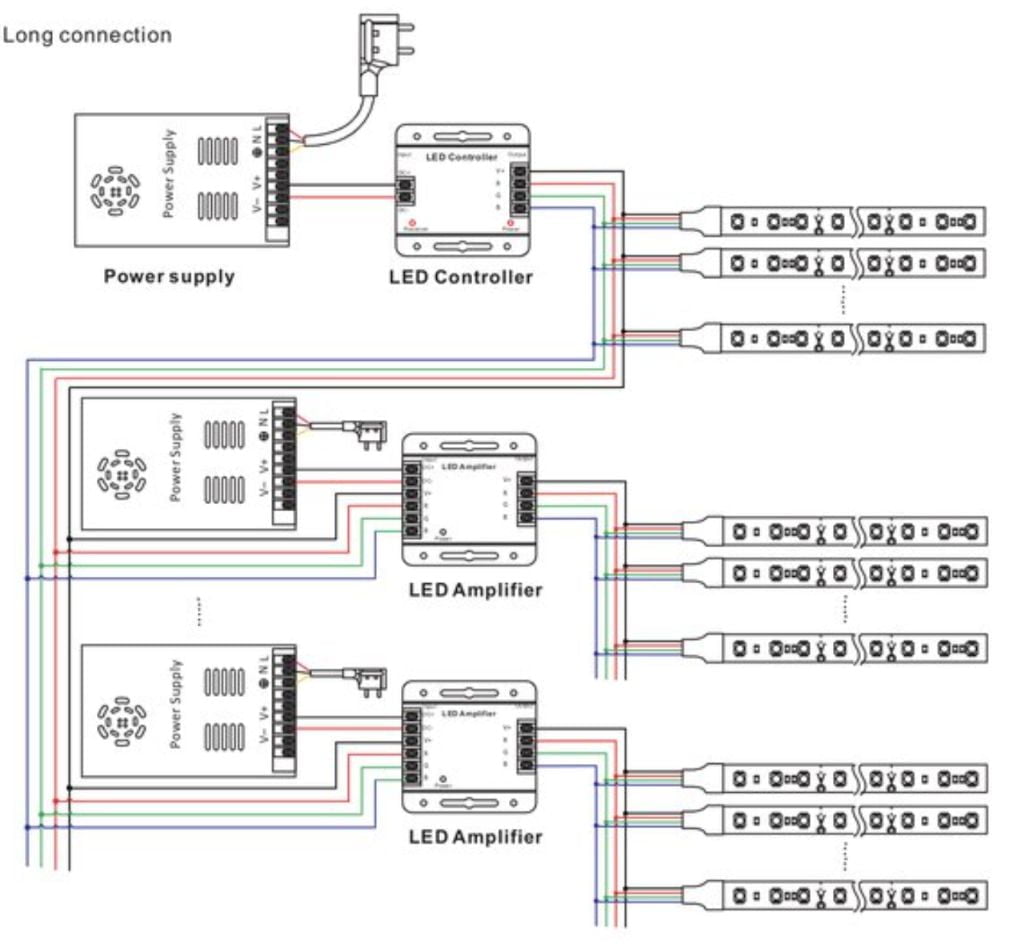
Incorporate Multiple Power Supplies
To maintain optimal brightness, consider implementing multiple power supplies rather than relying on a single one. This approach does require careful planning to ensure you’re never too distant from a power source.
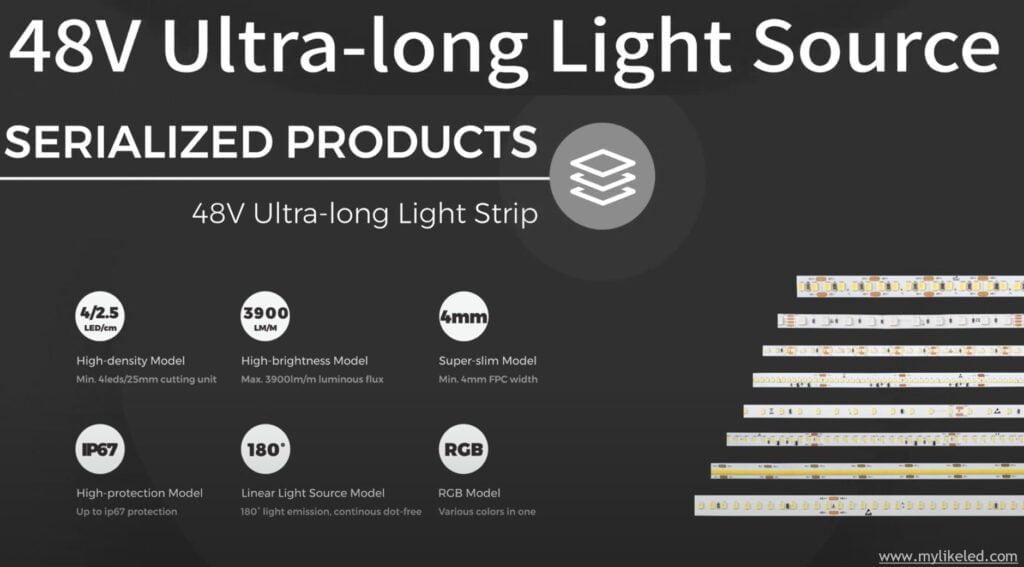
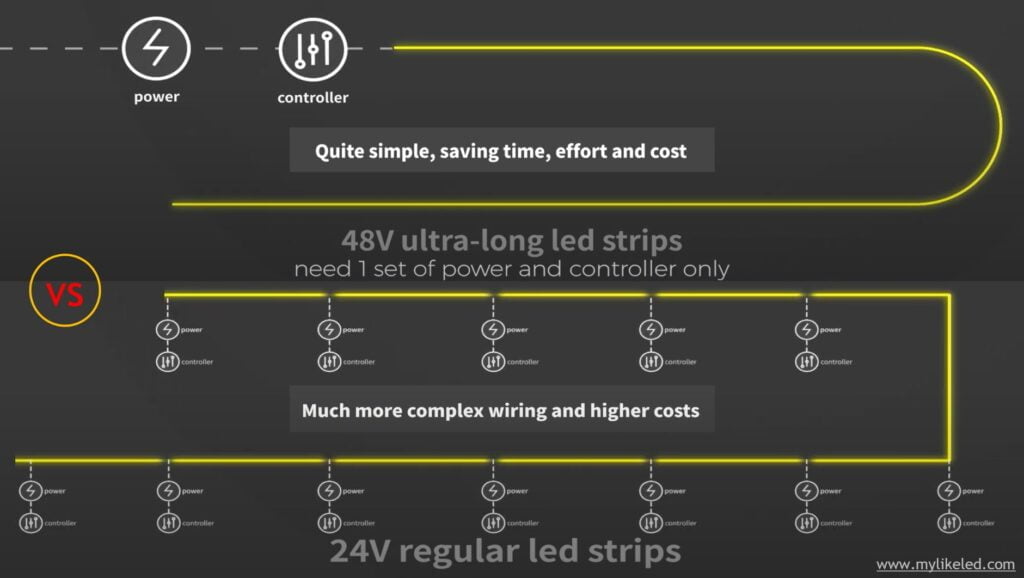
Employ High Voltage 48Vdc or 36Vdc LED Strips.
Switch to LED strips with higher input voltage to circumvent voltage drop issues.
For instance, 48V, 36V, and 24V strips could be preferred over 12V and 5V options. Higher voltage equates to lower current and thus less voltage drop and less labor cost for installation.
Opt for LED Strips with Thick Copper PCB
Copper is preferred for electrical wiring due to its superior conductivity and affordability compared to silver.
Copper thickness, typically measured in ounces, directly affects the current flow. A thicker copper wire allows more current to flow through.
To avert voltage drops in high-power LED strips, we suggest using copper wires with a 2oz. or 3oz thickness.
The thicker the copper wire, the lower the internal resistance, leading to efficient power transfer. Additionally, thick copper wires are advantageous for enhanced heat dissipation.
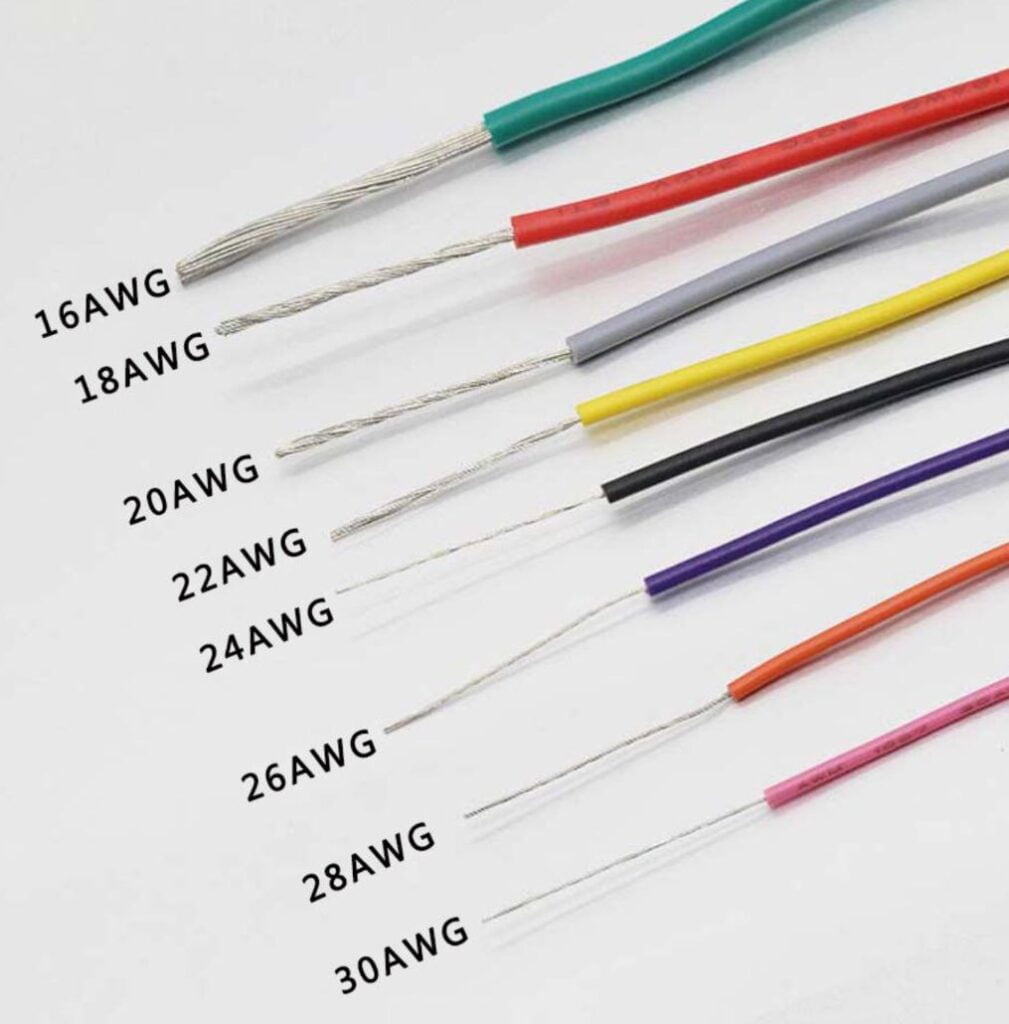
Opt for Larger Wire Gauges
When the LED strip is situated at a considerable distance from the power source, it becomes necessary to consider the wire gauge carefully to bridge the gap between the two. Typically, larger wire sizes are favored as they minimize voltage drop. You must know the acceptable voltage drop and how this wire length might influence it.
Follow these steps to determine the appropriate wire size:
Step 1. Wattage Calculation
Check the power-per-meter rating on your LED strip packaging label. Multiply this by the total number of meters to find the total power. Dividing this total power by the voltage will give you the total current.
Step 2. Measure the Distance from the LED Strip to the Power Supply
The distance between the LED strip and the power supply directly impacts the wire size requirement.
Step 3. Select the Appropriate Wire Gauge
Use a Voltage Drop Calculator to compute the wire’s voltage drop.
Experiment with different wire sizes in the calculator to observe the respective voltage drops. This will aid in finding a suitable wire gauge that ensures an acceptable voltage drop.
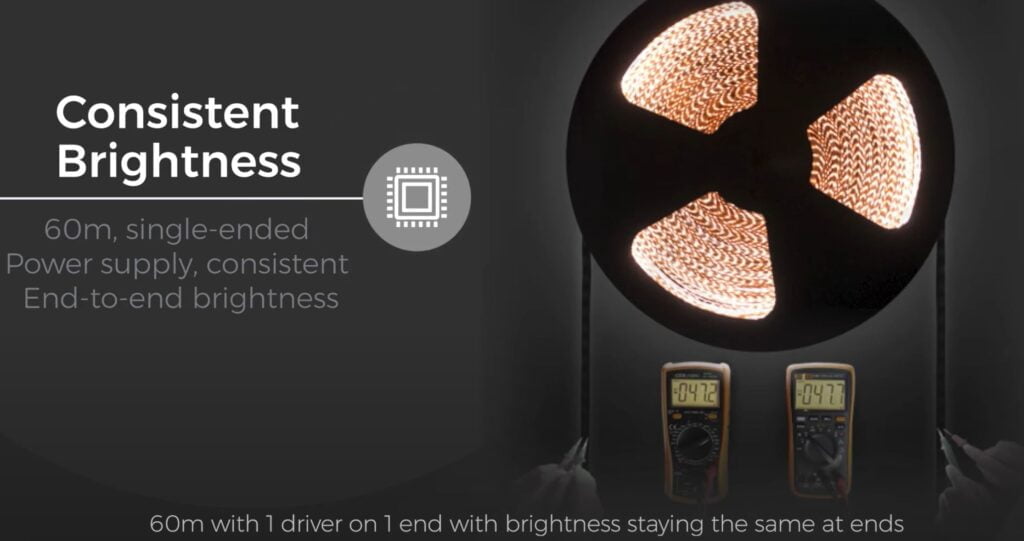
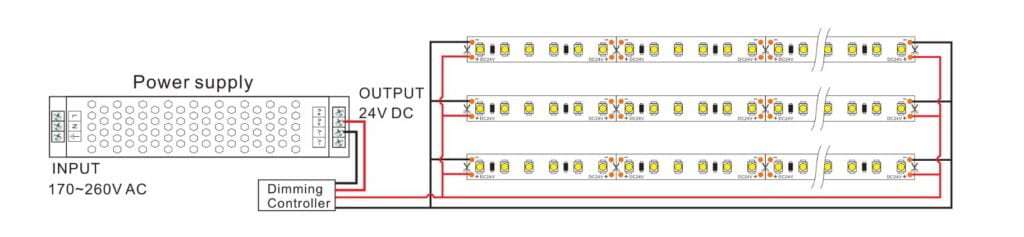
Consider Extended Length Constant Current LED Strips
Extended-length constant current (CC) LED strips can be as long as 50, 30, 20, or 15 meters per reel, requiring only a power supply connection at one end. This ensures uniform brightness from start to end.
Thanks to integrated constant current IC components, these long constant current LED strips maintain a consistent current passing through the LED within a specific voltage range (say, 24V~19V). This feature guarantees uniform brightness across the LED strip.
Conclusion
Addressing the voltage drop issue is undoubtedly achievable, though it may require either time or financial resources. If your priority is to minimize spending, a viable solution is to wire the LED strips parallel to the power source or connect both extremities of the LED strips to the power supply. Alternatively, if saving time is of the essence, opting for LED strips with a thicker copper PCB or those offering super long constant current might be more appropriate. However, it’s essential to remember the oft-quoted adage: time is money.
As a leading provider of superior-quality LED strips and LED neon flex, MYLIKELED ensures every product is thoroughly tested in advanced laboratories to guarantee top-tier quality. Additionally, we allow you to customize our LED strips and neon flex to suit your unique requirements. Therefore, for the best LED strip and LED neon flex solutions, don’t hesitate to contact MYLIKELED at your earliest convenience!

Hi, I’m Xylia Xiong, a sales professional with 14 years of experience in the LED strip light industry. I specialize in providing tailored solutions, leveraging my expertise in LED products and the latest industry trends. Known for effective communication and problem-solving, I’m dedicated to helping lighting manufacturers, importers, and distributors achieve their goals.
Let’s work together to create customized solutions that exceed expectations.